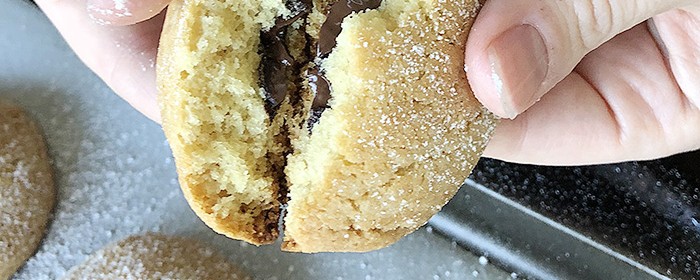
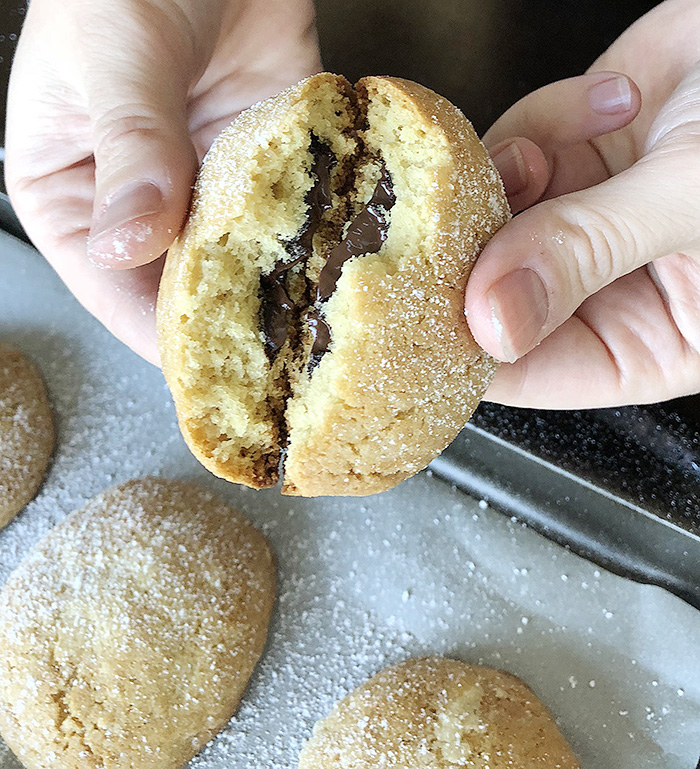
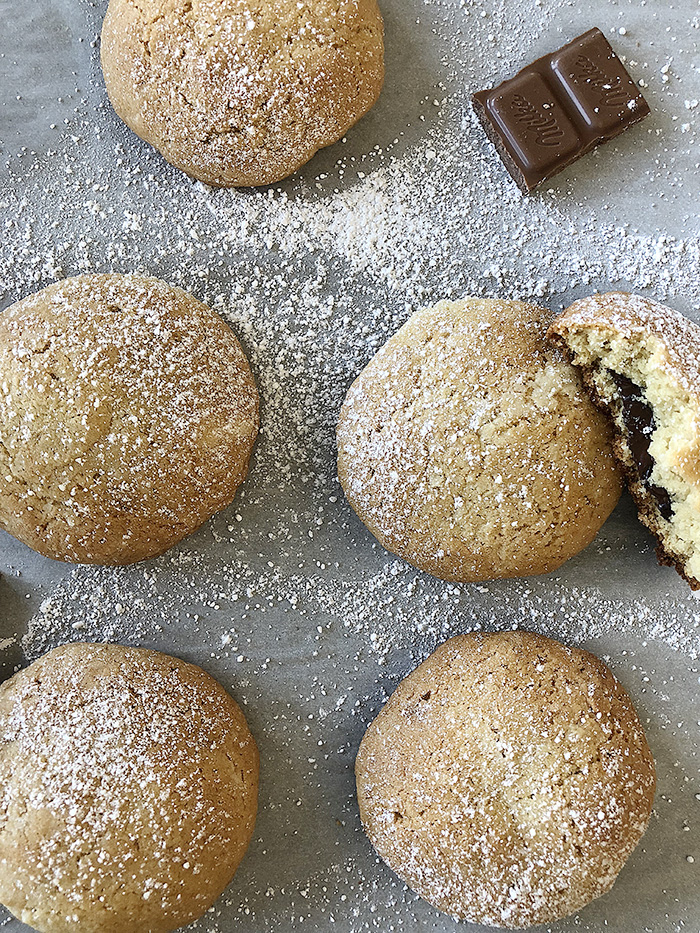
Chocolate Stuffed Almond Cookies
We just finished the coldest Macy’s Thanksgiving Day parade on record here in New York City so that means it’s now officially the holiday season and COLD. I haven’t posted in just about 2 years but something about this fall meets winter time of year gets me in the baking and sharing mood. So to break my hiatus, I’m sharing these easy yet crave-worthy super soft Chocolate Stuffed Almond Cookies.
Cookies are probably the easiest dessert to bake and share with friends, family, co-workers, neighbors, and really anyone during the holiday season. They are the classic go-to for festive baking and it seems very few people will turn down a good cookie. Even that friend that’s constantly on some new healthy diet will make an exception and at least break off a little piece of one. Then there are those of us who have a hard time stopping at 2 or 3 cookies, especially ones that contain gooey chocolate and almond paste, a taste commonly associated with Marzipan this time of year. The almond paste makes these chewy delights just festive enough to pass as holiday cookies but not so festive that you wouldn’t be able to enjoy a batch whenever you please.
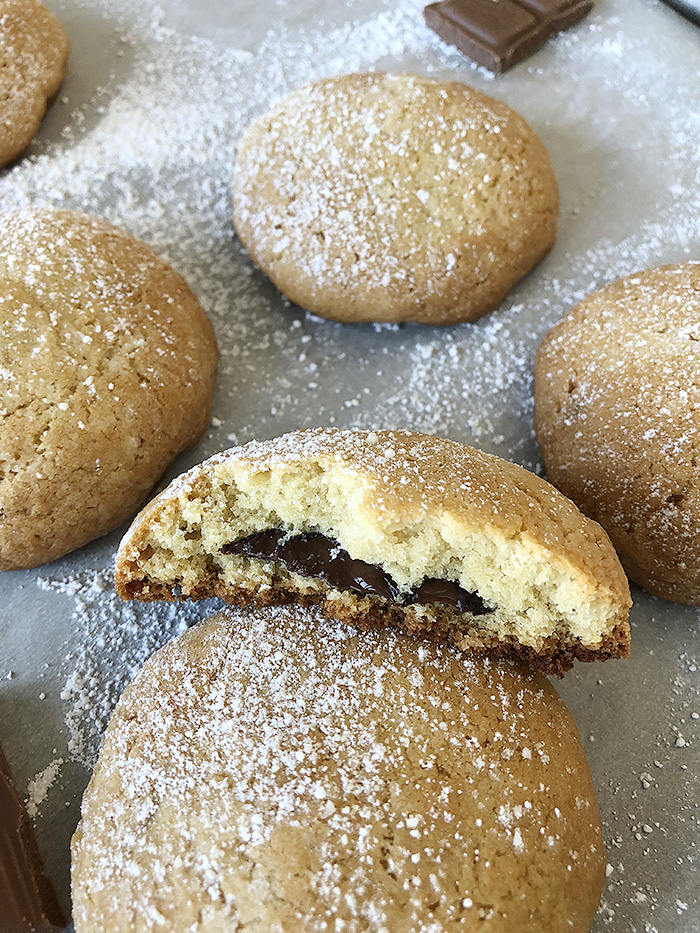
You’re probably more accustomed to seeing marzipan in the shape of fruits or maybe occasionally stuffed in chocolate, especially in Germany or perhaps Belgium. But these Chocolate Stuffed Almond Cookies offer a fluffy chewy texture that is often lacking in plain sugary marzipan sweets. Fresh out of the oven, these have that same lovely almond flavor associated with marzipan, but a more balanced sweetness and light almost cake-like exterior that hides a gooey chocolate surprise.
Happy Cookie Baking! And Eating!

Ingredients
Instructions
Preheat the oven to 350°F. Line a baking sheet with parchment paper.
Break or chop the almond paste up into small pieces. Mix the almond paste with the butter in a large mixing bowl until combined.
Add sugars and mix until creamy. Add the egg and the vanilla extract. Mix until smooth.
Whisk together the flour, baking soda, and salt in a separate bowl. Add to the butter sugar mixture and stir until just combined.
Chill 15-30 minutes. Meanwhile break the chocolate into roughly ¾-1 inch pieces.
Take a heaping spoonful of dough and flatten in the center. Place a piece of chocolate in the center of the dough ball and fold the dough over the top to completely cover the chocolate. Place onto the parchment-lined baking sheet.
Bake for 12 to 15 minutes, or until the cookies are just turning golden brown on the edges and just starting to turn golden on top but still appear soft.
Remove from the oven and let cool for a few minutes. Serve warm!
Makes about 1 dozen
Looking for a great charity to donate to this season? Check out Cookies for Kids Cancer