Brownies

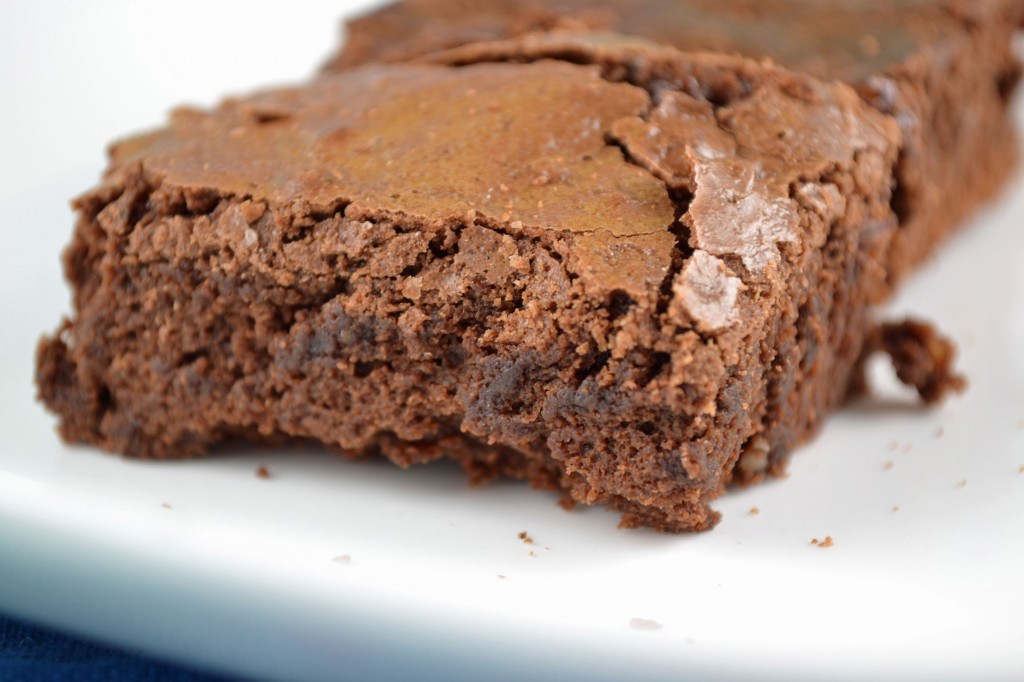
If there’s one recipe that my grandmother is most well known for, it’s brownies. Search for Paula Peck recipes on the internet and this brownie recipe is one of the first to pop up. Many of you may have seen Mark Bittman’s recent article, “Fear of Frying”, in The New York Times Magazine that acknowledges my grandmother‘s cooking (and this blog!). But it was one of his much earlier articles where I found her amazing brownie recipe mentioned (“Truth in Fudginess“). I have to admit that my views differ somewhat from his. With an extra large sweet tooth, I don’t discriminate against those brownies with all the bells and whistles (as long as they’re not dry and crumbly of course). However, the beauty of my grandmother’s recipe is its old-fashioned simplicity. I’ve experimented using semi-sweet chocolate instead of unsweetened, and the cakey brownie that emerged was just not the same. This is a classic, no-fuss recipe with minimal ingredients that creates the perfect, fudgy, sweet, chocolaty brownie that makes you want to devour every last crumb.

Ingredients:

3 ounces unsweetened baking chocolate
1/4 cup plus 2 tablespoons unsalted butter
3 eggs
1 1/2 cups sugar
1 teaspoon vanilla extract
3/4 cup all purpose flour
1/4 teaspoon salt
3/4 cup walnut pieces (optional)

Preheat oven to 325 degrees. Grease and lightly flour an 11 x 13 baking dish or pan.

Melt chocolate and butter together over low heat and set aside to cool slightly. Beat eggs and sugar together until light and fluffy. Add vanilla. Stir in chocolate mixture, then flour, salt, and nuts. Mix only until combined.

Pour into prepared dish/pan. Bake about 25 minutes until top looks dry. Cool before cutting into squares or bars.

Yield approximately 25.

Adapted from “The Art of Fine Baking,” by Paula Peck.
Apple Cheese Cake Puff

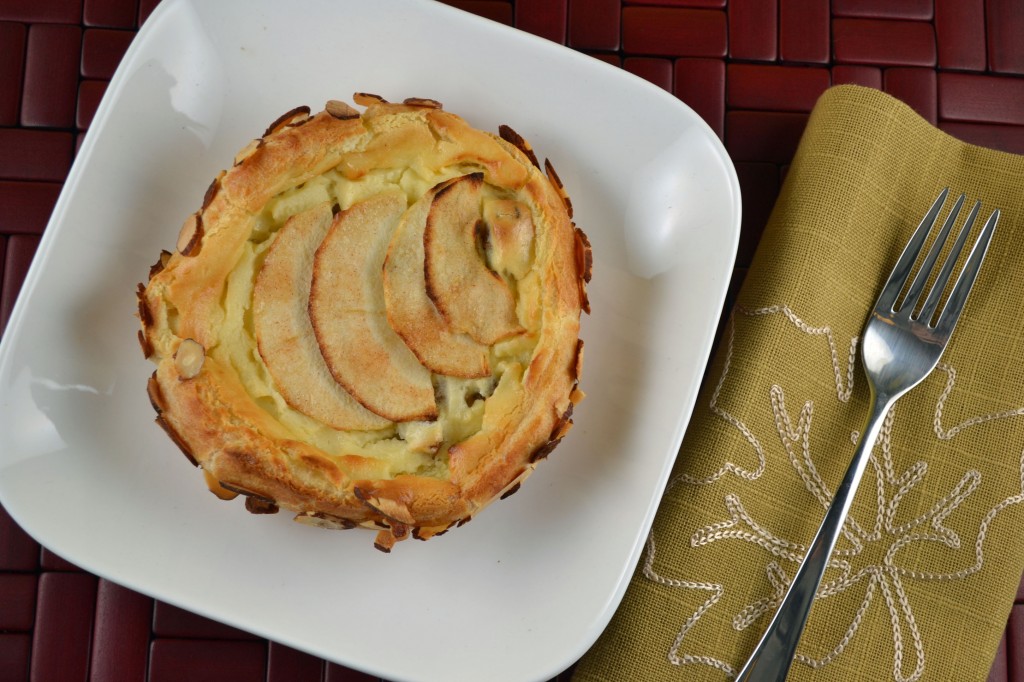
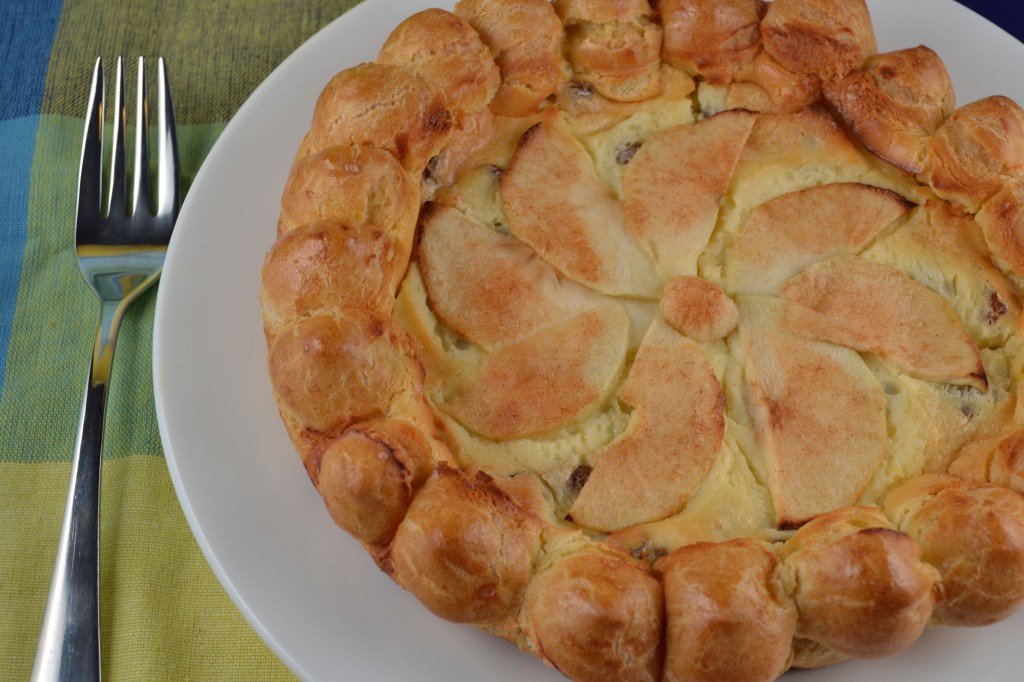
This recipe immediately caught my eye. Where apples, pate a choux, and cheese cake filling meet in one inspiring cake puff. I’ve never seen a recipe quite like it. Apple season is in full swing and I find cheese cake hard to resist so it seemed this recipe from “The Art of Fine Baking” was calling out to me. The result is impressive but must be devoured quickly due to the short life of the puff portion of the cake.

I made two sizes of this cake puff. The larger version follows the original recipe instructions and I improvised to make the smaller one using leftovers. I can’t help but feel like the puffed border of the large one could be over-the-top delicious if filled with sweetened whipped cream- like a cream puff apple cheese cake puff…whoa. But as is, the lemon zest in the cheese cake filling brings out the fresh tartness of the apple and provides a delicate contrast to its puffed shell. Another Paula Peck show stopper.

Ingredients:

Cheese Filling
2 tablespoons golden raisins
1 tablespoon cognac
1 cup cream cheese
1/4 cup sugar
1 tablespoon flour
1 egg yolk
1 teaspoon melted butter
1 tablespoon sour cream
1/2 teaspoon lemon zest
1/2 teaspoon vanilla extract

1 recipe pate a choux
1 tart apple (such as granny smith), peeled, cored, and sliced thin
2 tablespoons cinnamon sugar (see note)
1 egg yolk mixed with
1 teaspoon cream
1/4 cup sliced blanched almonds (optional)

Preheat oven to 375 degrees. Line a baking sheet with parchment paper.

Make cheese cake filling:
Mix raisins with cognac. Cream together cheese, sugar, and flour. Stir in egg yolk, then melted butter, sour cream, lemon zest, and vanilla. Mix in raisins.
For a large puff:
Trace a 8-inch circle in flour on a parchment lined baking sheet, using a plate or pan as a pattern. Turn parchment paper over. Spread a thin layer of pate a choux about 1/4 inch thick within the circle. Place remaining pate a choux in a pastry bag fitted with a plain round tube. Squeeze out small mounds of paste, one right next to the other, to make a low border around the layer.

Pour cheese filling into center of shell. Spread evenly. Arrange sliced apples on top. Sprinkle with cinnamon sugar. Brush border with egg yolk mixture. Sprinkle with almonds (if using).

Bake in preheated oven 50-60 minutes or until entire pastry is golden brown.

For small puffs:
Use pastry tip to pipe a spiral, starting in the center, about four inches wide. This creates the bottom layer so make sure there are no holes in the pate a choux. Pipe a second layer just around the rim of the spiral, creating a border. Spread cheese filling in center as instructed above. Bake about 30 minutes.

Note: Cinnamon Sugar can be made by simply combining 1 cup granulated sugar with 1 tablespoon cinnamon.

Adapted from “The Art of Fine Baking,” by Paula Peck.
Frozen Raspberry Mousse

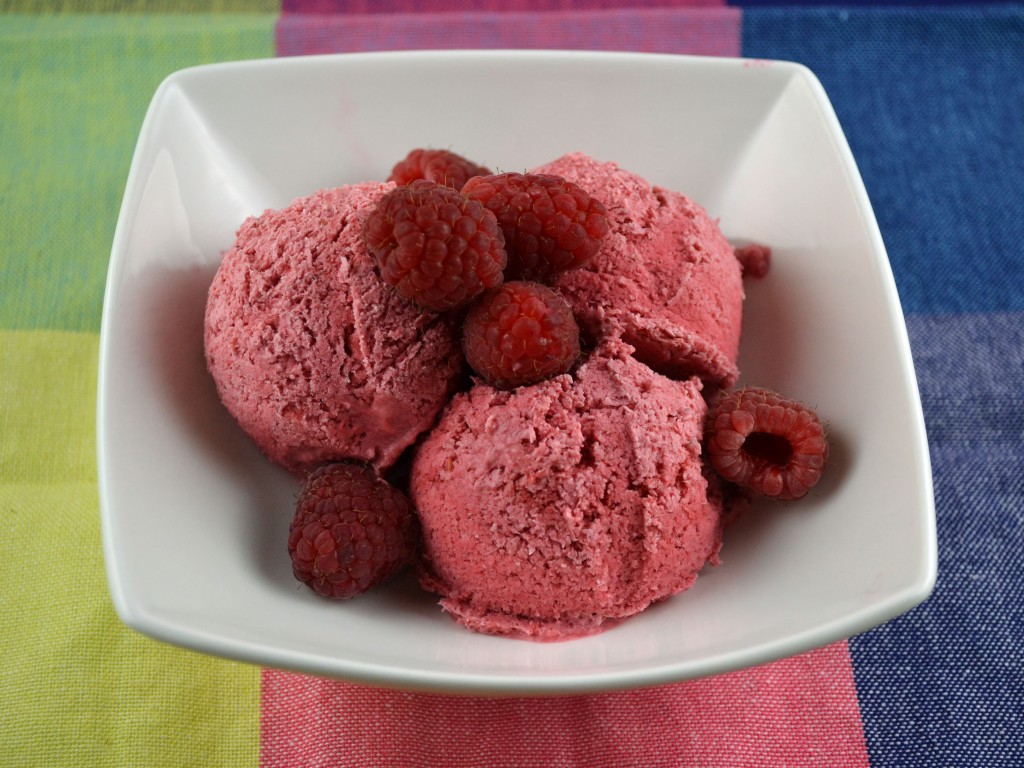
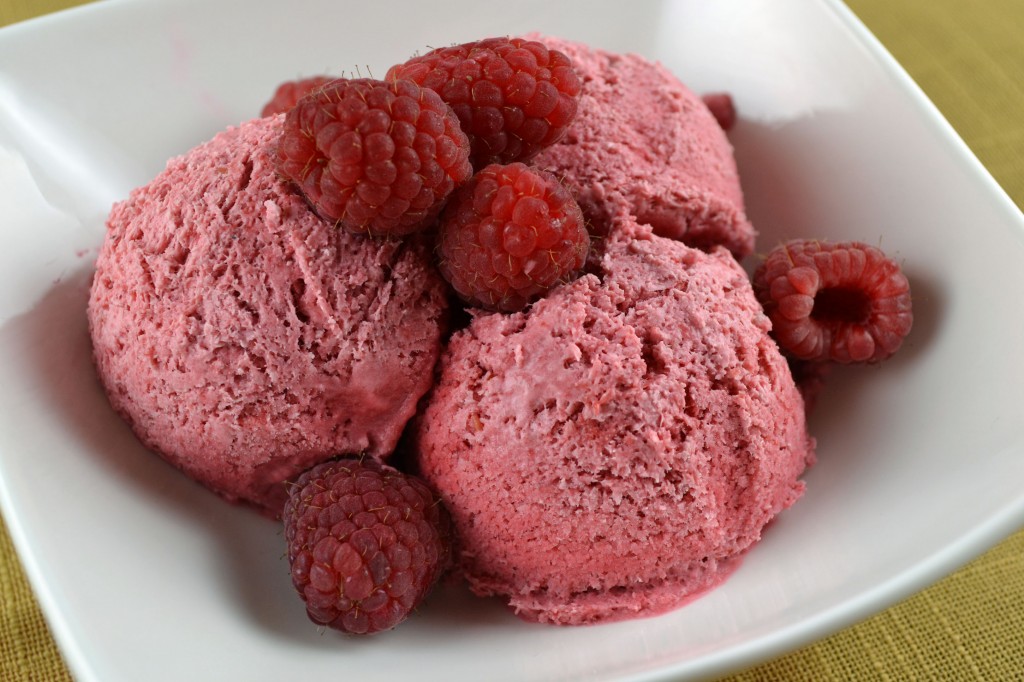
Don’t let the photo deceive you. This is not ice cream despite what you maybe thinking. At least not conventional ice cream (it is afterall, a form of iced cream, literally). No ice cream maker needed for this bright mousse made with fresh or frozen (more affordable) raspberries. Easily summed up with 5 ingredients and though the final texture is more icy and less creamy than I would normally want in a mousse, I keep going back for more. The tang of the raspberries is balanced by the richness in the cream and the kirsch or framboise ensures the mousse doesn’t harden too much in the freezer. As summer comes to a close, this quick mousse is a reminder of light refreshing desserts as the heavier fall pies and cobblers begin to takeover.

1 cup raspberry puree (1-2 packages frozen raspberries or 2-3/6 oz packages fresh raspberries, pureed and sweetened to taste with 1-2 tablespoons confectioners sugar; seeds discarded)
2 tablespoons framboise or kirsch
2 egg whites
pinch of salt
2 tablespoons granulated sugar
2 cups heavy cream, whipped

Combine raspberry puree with framboise or kirsch. Beat egg whites with salt till they are stiff. Beat in sugar, a little at a time, and continue beating till whites are very firm. Fold whipped cream and stiffly beaten egg whites together. Fold in raspberry puree. Pour into a bowl which can be placed in the freezer. Cover and freeze in freezer until mixture is firm.

Serves 6.

Frozen Strawberry Cream Torte

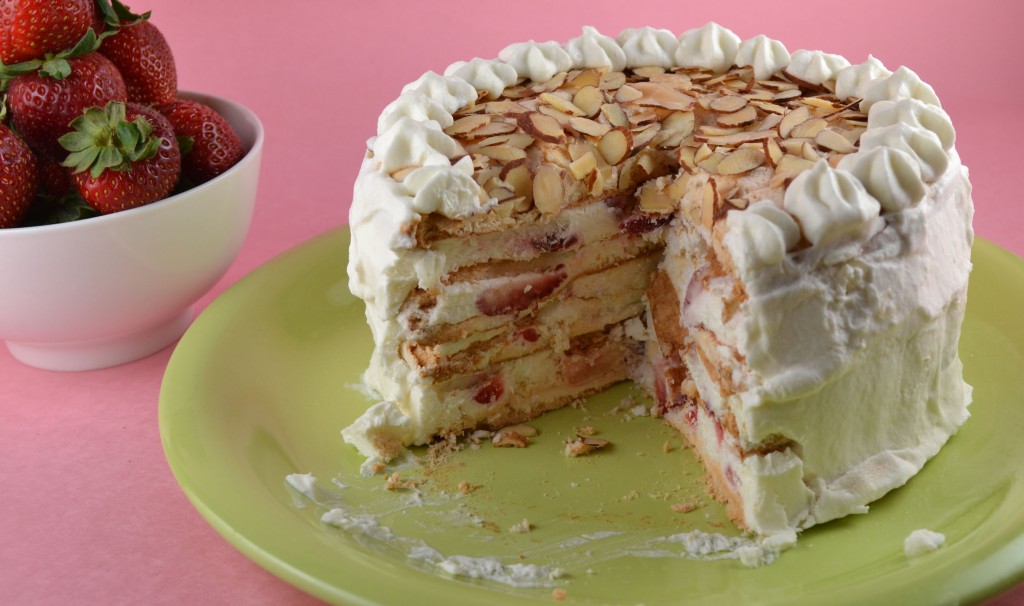
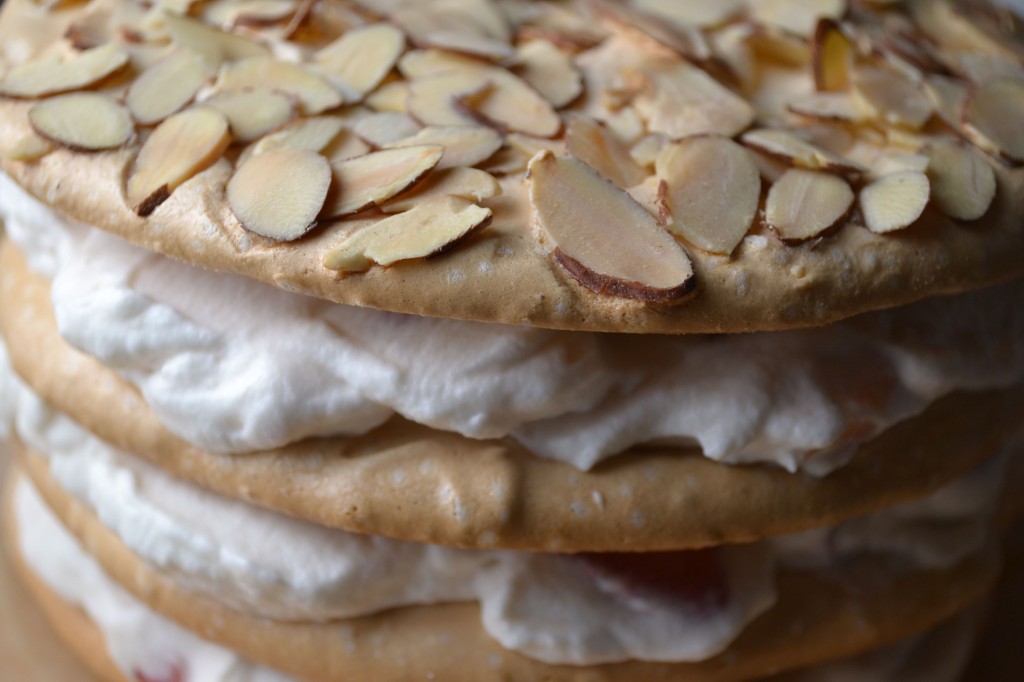
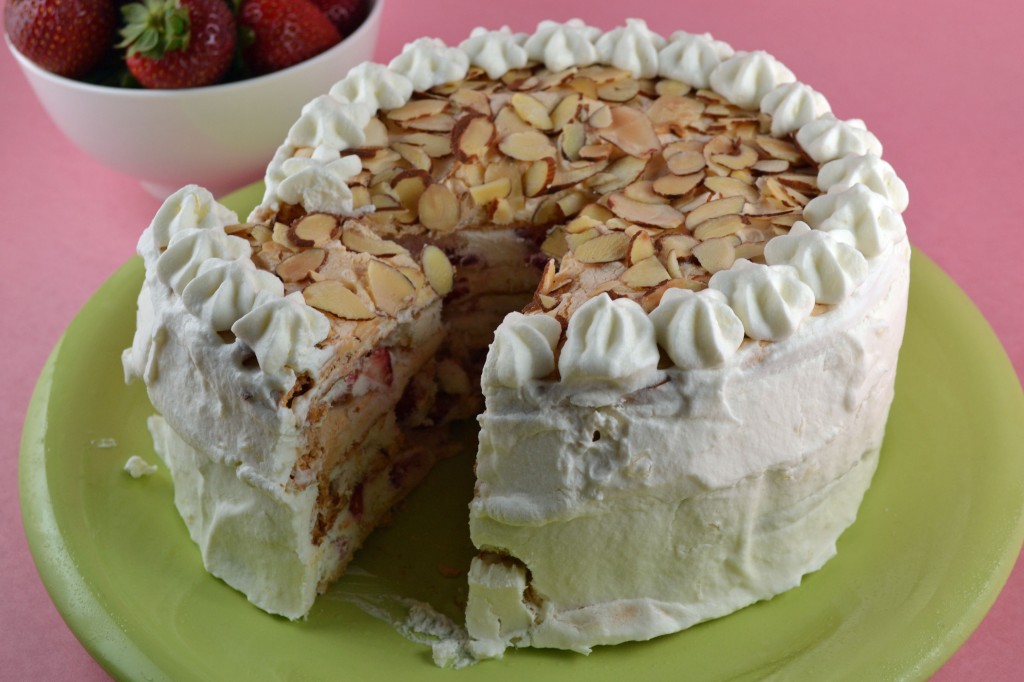
Few Paula Peck desert recipes really lend themselves to Summer. A couple of fruit tarts, a mousse or two, and a few fruit tortes are summery as is without modification. Maybe because she spent most summers in France, renewing her tastes and inspirition or maybe she just didnt bother much with the heat of baking in a hot humid Manhattan building before AC was a regular commodity. Whatever the reason, this frozen torte is part of this small exclusive group of her summer desert recipes. Not exactly quick or easy, if meringue is foreign to you, but the construction is fairly simple and the finished torte is impressive. There are two methods used in the original recipe for which I have strong opposing feelings. The first is the suggested baking time of the meringue to ensure it doesn’t brown. Though technically incorrect, in my opinion the baking time for meringues takes long enough without having to worry about making sure it maintains pure white and doesn’t brown. In this particular instance, I don’t mind if the meringue is slightly tan on top. It speeds up the baking/drying process and has little effect on the taste.
The second method, which I agree with, is adding gelatin to whipped cream. This works well to stabilize whipped cream if using it like a frosting, which in itself is an interesting technique that I’m not quite used to. Substitute powdered agar-agar or vegetarian gelatin for vegetarians.
A last point that needs to be emphasized is to serve the torte frozen. It just doesn’t taste the same when it begins to thaw. A finished frozen slice should taste creamy and light, like strawberry shortcake and meringue cookies smashed together in a giant sandwich then hidden beneath a layer of silky cream and frozen to combine the textures into a cool summer treat.

Swiss Meringue

5 egg whites
1/4 teaspoon cream of tartar
1/4 teaspoon salt
1 teaspoon vanilla extract
1 1/4 cup sugar
1/2 cup blanched sliced almonds
2 1/2 cups heavy cream, whipped with 2 tablespoons sugar and dissolved gelatin (see note)
1 cup fresh strawberries, sliced

Sprinkle strawberries with 1/4 cups sugar and set aside.

Combine egg whites, cream of tartar, salt, and vanilla extract in the bowl of a  mixer. Beat at medium speed until egg whites hold soft peaks. Gradually add 1 cup sugar, a few tablespoons at a time, beating continuously until stiff peaks.

Preheat oven to 350 degrees. Line with parchment paper or grease and flour two large baking sheets. Trace four circles in flour, each 6 inches in diameter. Spread a thin layer of meringue within each circle. Sprinkle one layer with sliced almonds.

Bake meringue layers at 325 degrees for 10 minutes. Reduce oven to 300 degrees and bake meringue until puffed and cracked, about 50 minutes. Turn the oven off and prop the door open. Let cool in oven for 30 minutes until room temperature.

Drain sweetened berries. Combine with about 2 1/3 cups of whipped cream. Working as quickly as possible to prevent meringue from softening, sandwich layers with whipped cream mixture. Place the almond studded layer on top. Place in the freezer for 2-3 hours, or until cake is frozen.

Spread the remaining whipped cream around sides. Place again in the freezer. When sides are frozen, the torte can be wrapped for freezer storage for up to 6 weeks.


Strawberry Rhubarb Pie

Similar to strawberries or asparagus, rhubarb has always been a common spring staple for me. Growing up, we had a rhubarb plant amongst a strip of overgrown bright orange flowers (daylilies?) along our driveway. Though its size changed over the years, it never failed to produce. I remember checking the stalks to see if they were long or thick enough to use, and at least once or twice a year my mother would make strawberry rhubarb cobbler, or sort of a cross between a cobbler and a pie because she couldn’t be bothered with pie dough. This combination has since been a nostalgic favorite of mine and I’m a big fan of this tart fruity celery-like vegetable. You definitely can’t sit around munching on it but I always felt it was an underused fruit on the east coast.

This pie was actually adapted from the rhubarb tart recipe in “The Art of Fine Baking.” By changing from a flan mold to a pie plate and the addition of strawberries, it morphed into a whole new dessert that’s fairly different from its original precise tart parent. Rhubarb and strawberries are just too good to separate.

Other than distinctly tasting both the strawberry and the rhubarb instead of jellylike globs, there are 2 things that make this pie different (and more delicious) than many other strawberry rhubarb pies. Both involve the crust:
1. A layer of ground nuts is spread across the bottom of the pie crust before the filling is added.
2. lemon zest is added to the pie dough
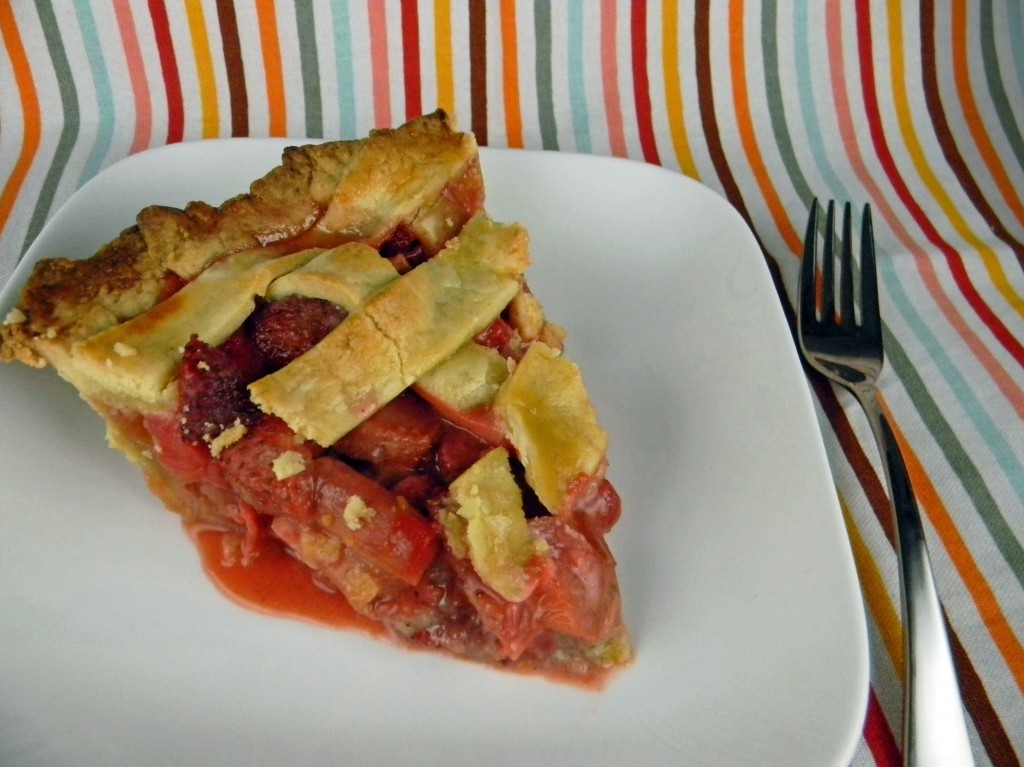
The nuts are a great idea from the original recipe. Not only does it add a toasted nutty flavor but it helps soak up some of the juice from the strawberries and rhubarb without making it soggy. The Lemon zest brightens the taste of the crust and compliments the freshness of the fruit. It’s pleasantly surprising what a difference these small additions make.
If your looking for a replacement for that apple pie whose season ended months ago, this sweet and sour pie will get you ready for the fruits of summer…

3 cups rhubarb, cut in 1 inch pieces
3 cups strawberries, hulled and sliced
4 tablespoons cinnamon sugar
1 cup sugar
1 teaspoon orange zest
3 tablespoons flour
2-3 tablespoons cornstarch
1 beaten egg mixed with
1 tablespoon milk
1 cup ground walnuts, pecans, or hazelnuts
1 recipe rich tart pastry

Grease a 9 inch pie plate and preheat oven to 350 degrees. Roll out pastry on a floured surface until 1/8 of an inch thick. Line pie plate with pastry. Save trimmings for top of pie. Chill.

Press ground nuts into the bottom of pie shell. Mix together, rhubarb, strawberries, sugar, cinnamon sugar, zest, flour, cornstarch. Fill pie shell.

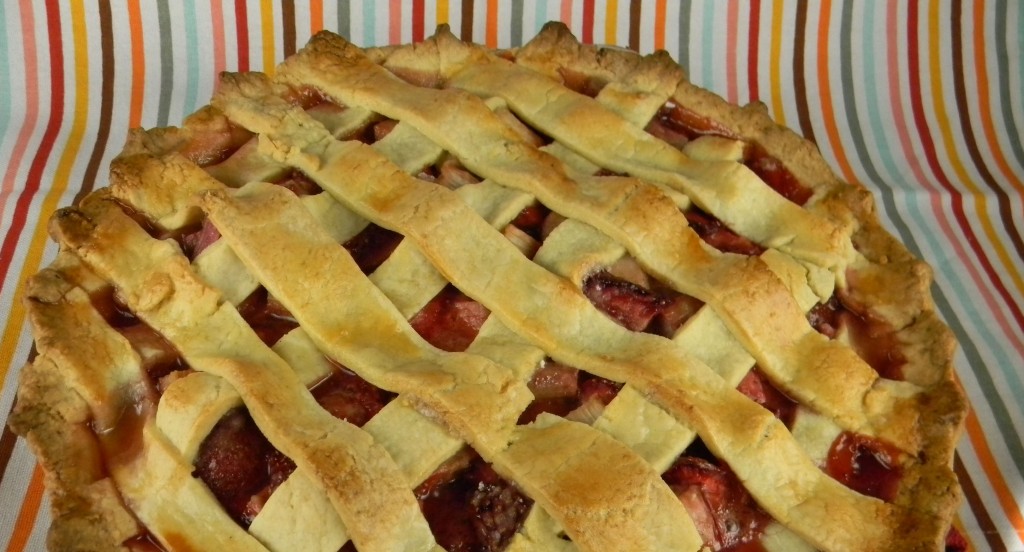
Roll out remaining pastry dough. Brush with egg milk mixture and cut into strips the length of the top of the pie. Layer lattice pastry strips on pie.

Bake 45 minutes to 1 hour or until juices are bubbling and the top is lightly browned.

Croquets aux Filberts/Citrus Hazelnut Cookies

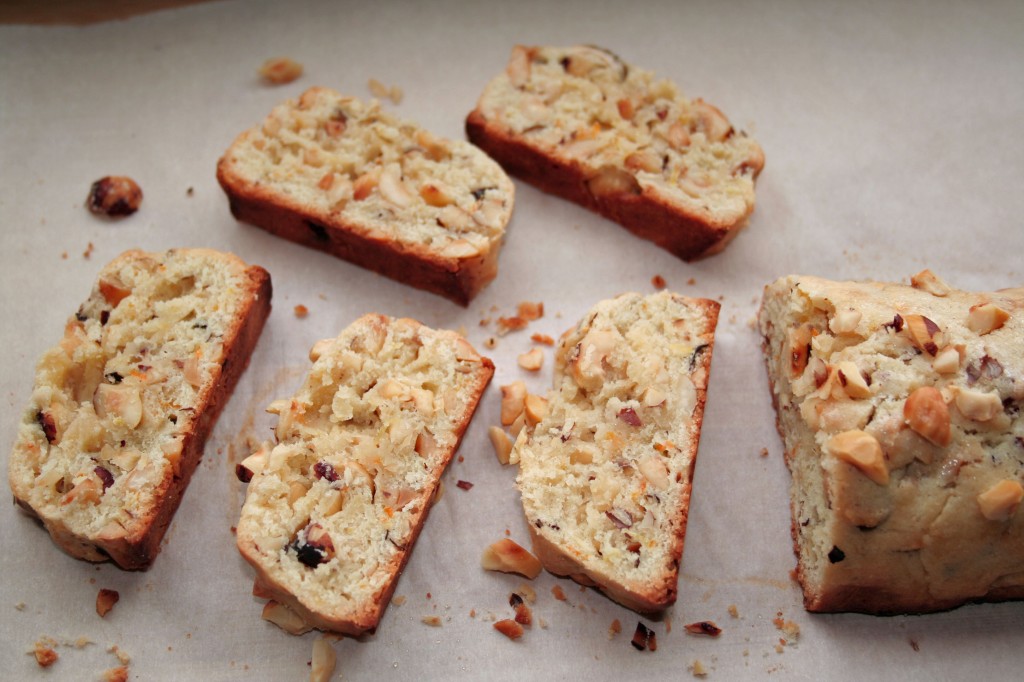
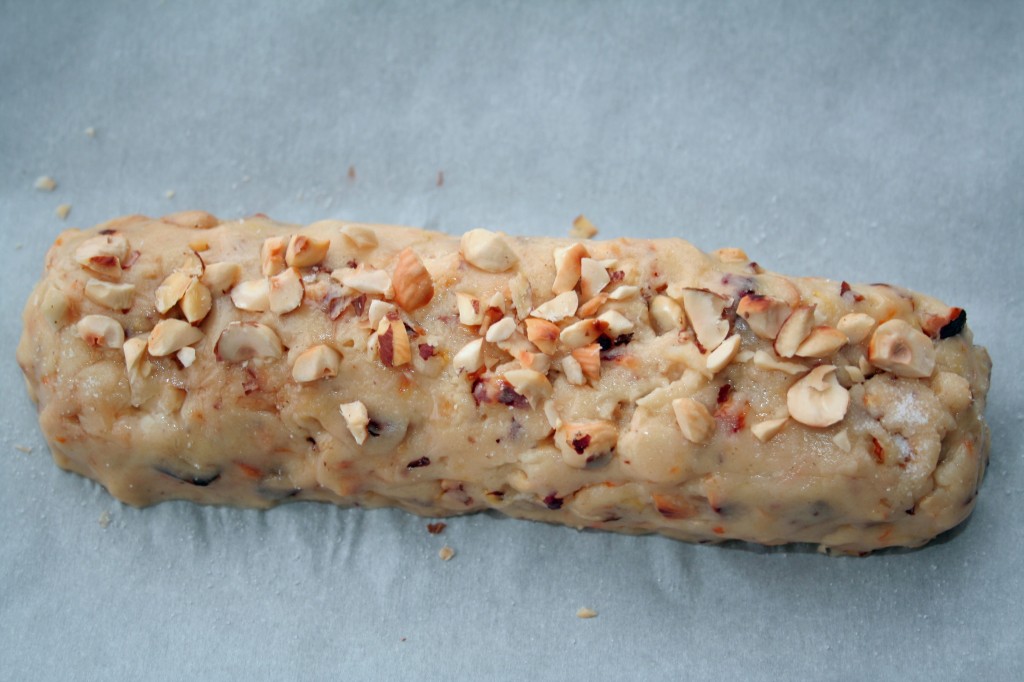
After a few fans of my grandmother’s books proclaimed Croquet aux Filberts as their favorite cookie, this recipe from “The Art of Fine Baking” became a priority. I realized while making the log, baking it, slicing it, and then baking the sliced cookies, that these are fairly similar to biscotti. In my opinion though, thick slices and the combination of citrus zest and hazelnuts make these much better than any biscotti out there.

I wasn’t sure what filberts were. After researching it, I’m still not quite sure if they are the same as hazelnuts or just similar. I’ve found conflicting articles stating both. Some say filberts are just a European version of hazelnuts. While others say they are the same and the names are interchangeable. Either way, hazelnuts are readily available. If you’re like me and have a hard time eating anything hazelnut without chocolate, bittersweet chocolate chips or shavings can be added to the batter or pressed into the log before baking. Other than this potential addition (which really isn’t necessary), this recipe is pretty much perfect as is. Hope I do it justice!

Ingredients:

1/2 cup unsalted butter
1 cup sugar
1 teaspoon orange zest
1 teaspoon lemon zest
1 teaspoon vanilla extract
1 egg
1 1/2 cups hazelnuts, toasted and sliced or chopped
1 1/4 cups all purpose flour
1/2 teaspoon salt
1 egg white
1 teaspoon water

Set oven to 375 degrees and lightly grease a baking sheet. Cream butter and a 1/2 cup sugar together. Add orange and lemon zest, vanilla, egg, and 1 cup hazelnuts. Gently stir in flour mixed with salt. Chill slightly.

Divide dough in half. Form each half into a long, slim loaf about 2 inches wide. Place loaves well apart on baking sheet.

Brush each loaf with egg white mixed with water. Sprinkle with remaining sugar and sliced hazelnuts.

Bake about 25 minutes, or until loaves are golden brown. Cool slightly.

Reduce oven tempurature to 300 degrees.
Cut straight or diagonally in 1/2 inch slices. Replace slices in oven for 10 minutes or until they are lightly toasted and dry.

Yield Approximately 44

Adapted from “The Art of Fine Baking”

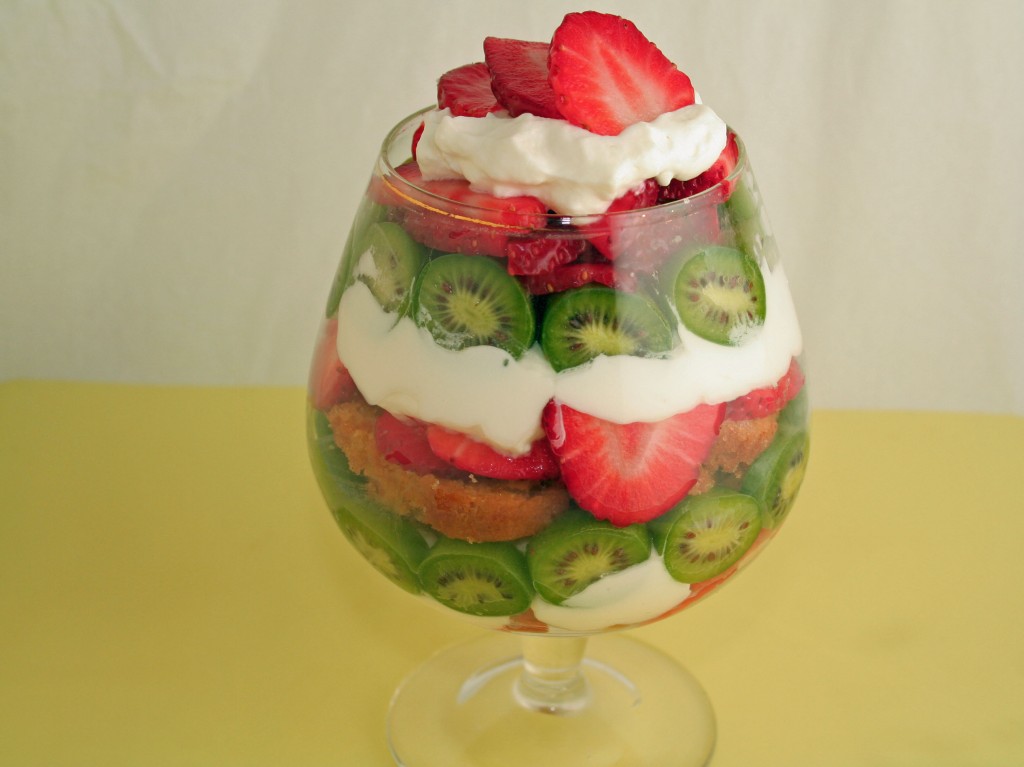
Strawberry Kiwiberry Mascarpone Cream Parfait

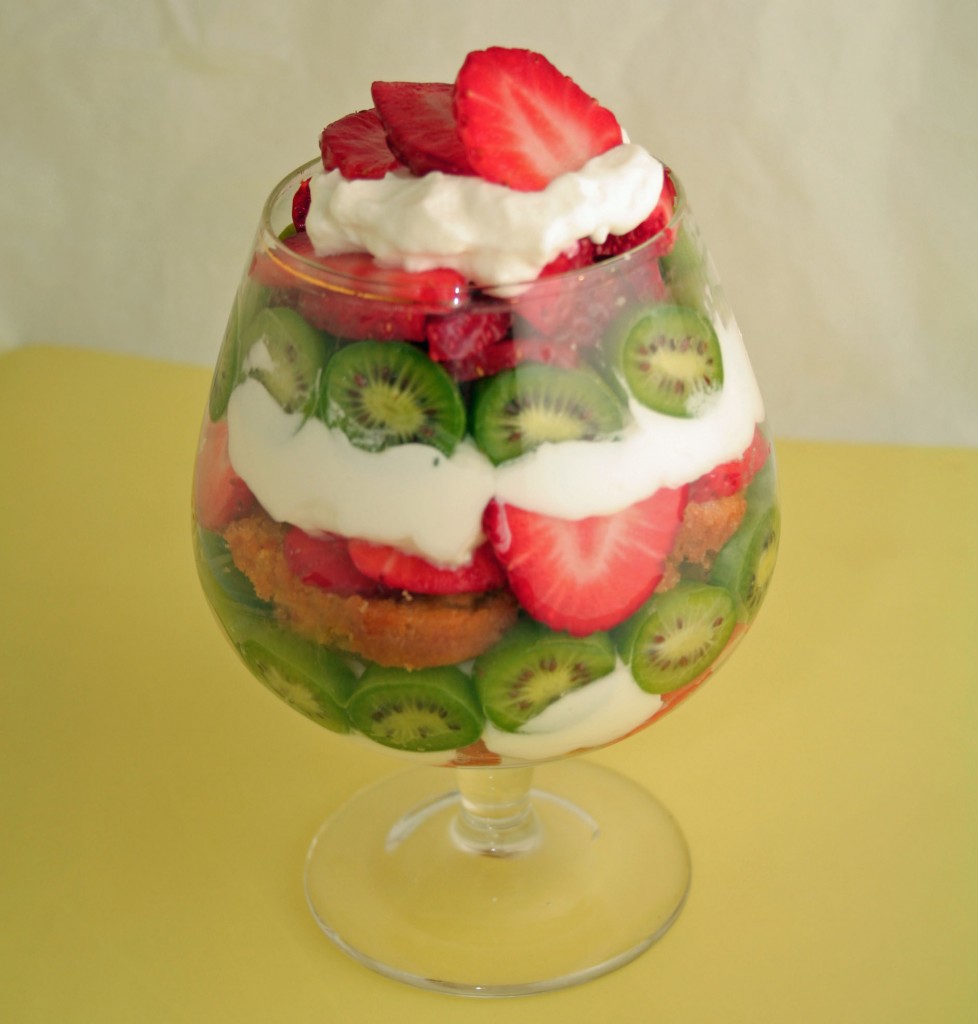
Yes, it’s as delicious as it looks. It is also very easy to make and a crowd pleaser. I used kiwiberries because I like their combination of tart skin with the sweet flesh but regular chopped kiwi, banana, raspberries, blueberries, or any combination of fruit all work well here.
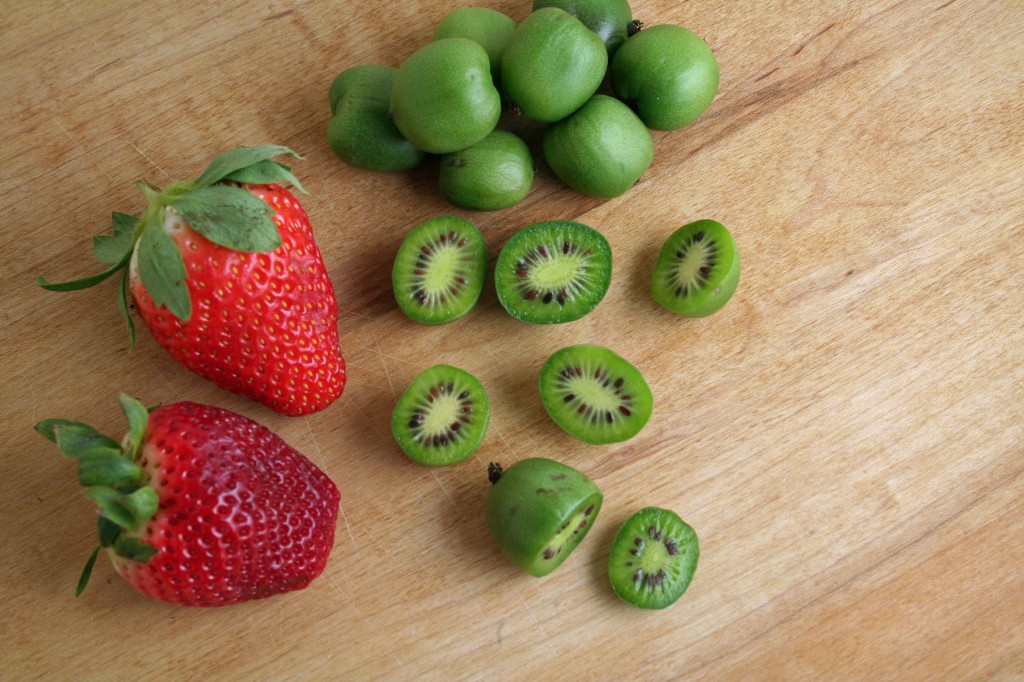
If you’re a kiwi lover but not familiar with kiwiberries, you should be. These miniature kiwis with fuzz free tart edible skin, may seem like baby kiwis but they are actually an entirely different fruit. Often from New Zealand, Kiwiberries or Hardy Kiwis can be difficult to come by and expensive. Here in NYC, they’re available at most gourmet food stores and according to Wikipedia (Kiwiberries on Wikipedia), more commercial production is now taking place in the U.S. so this “historically unsuccessful fruit” may become more available. If you’re a fan of sweet and sour combinations like I am, you should definitely try kiwiberries.

You may be wondering if or how this recipe relates to Paula Peck and her cookbooks. Well, the recipe itself may not (no kiwiberries in the 1960’s, that’s for sure) but the inherent pound cake recipe comes directly from “The Art of Fine Baking.” I also think she would love the beauty and simplicity of this recipe, though she would probably add cognac or kirsch to the cream layers.

Ingredients:

1/2 pound strawberries, hulled and sliced
1 – 6oz package kiwiberries, sliced
1/2 loaf Basic Pound Cake (recipe follows), sliced and cut into 1-2 inch pieces
1 cup heavy whipping cream
3-4 tablespoons powdered sugar
3 tablespoons mascarpone cheese
1 teaspoon vanilla extract

Beat heavy cream until soft peaks form. Add vanilla and 1 tablespoon powdered sugar. Continue beating, gradually adding remaining sugar, until the cream holds stiff peaks. Beat in mascarpone cheese.

To build the parfaits: in clear dessert glasses, begin layering cake, cream, and fruit. Cover the bottom of the glass with 1-2 pieces of cake followed by a few dollops of cream. Build a ring of kiwiberries around the glass by sliding them down the side (cut side out). Add strawberries. Continue layering and top with cream and strawberries.

Serves 4-6.

Basic Pound Cake

Ingredients:

3 eggs
1/2 cup sugar
1/2 cup butter
1 cup sifted flour
1 teaspoon vanilla extract

Preheat oven to 350 degrees. Grease a loaf pan and dust with flour.

In a large bow, combine eggs and sugar. Beat for a minute. Set bowl over saucepan of hot water. Place saucepan over low heat for about 10 minutes, or until eggs are slightly warmer than lukewarm. Do not let water boil. Stir eggs occasionally while they are being heated to prevent them from cooking on bottom of bowl.

While eggs are warming, cream butter and flour till light and fluffy. Add vanilla.

When eggs are lukewarm, beat them until cool, thick, and tripled in bulk. Quickly stir 1/4 of beaten eggs into creamed mixture. Pour mixture over remaining beaten eggs. Fold in gently. Be careful not to over mix.

Pour batter into prepared pan. Bake about 40-50 minutes or until cake is golden brown and pulls away from the sides of pan.

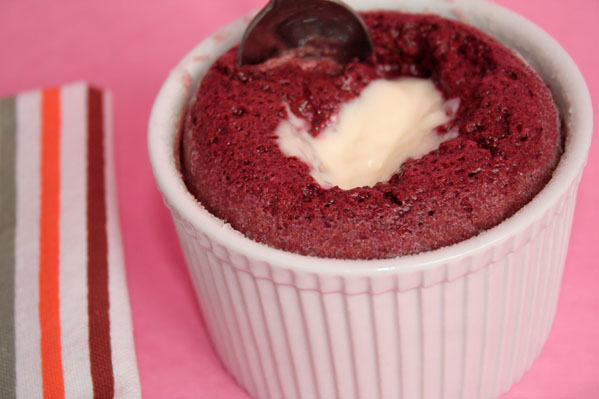
Red Velvet Chocolate Souffle with Cream Cheese Icing Sauce

So this is not a Paula Peck original recipe. In fact, although souffles are French and much of her work with James Beard was based on French recipes, I haven’t been able to find record of her making a souffle. When I asked my father about this, he had no recollection of her making one at all. It’s possible that somewhere between the issues of making sure that a souffle rises and the fact that it collapses within minutes after coming out of the oven, she found them to be too high maintenance for her minimalist approach to baking.

The thought of making a souffle often terrifies people. Before I went to culinary school, I tried making one a couple of times and failed miserably. I remember my nervousness the day we tackled the unit on souffles. We had to make 3 basic souffles: chocolate, fruit based, and cheese. My fear, of course, was that my souffles wouldn’t rise. The techniques and recipes turned out so solid that not only did all three rise, I don’t recall anyone in the class struggling with that unit at all. Unless I’m changing a recipe or testing one, I can usually turn out a technically correct souffle without a problem by sticking with the following tips:

– Do not over beat egg whites.
– Do let egg whites stand very long (they will deflate).
– Use a souffle mold with straight sides.
– Coat the molds with butter but also either sugar, Parmesan, or bread crumbs. I believe this helps the souffle grip the sides and rise.
– Most souffles should be baked in an oven at 375 to 400 degrees (if heat is too low, the souffle will flatten and spill out of dish. If too high, center will be liquid and top will be crusty)

Since souffles are somewhat old fashioned, I wanted to make one with a modern twist. With the popularity of red velvet cake and my love of cream cheese frosting, I took on this what’s old is new challenge. The resulting decadent warm red velvet chocolate souffle with a touch of sweet fruity Grand Marnier and tart cream cheese icing sauce definitely fits the bill.

Ingredients:

1 tablespoon flour
1 tablespoon unsalted butter
½ cup milk 3.75 oz of bittersweet chocolate (63%-73%), finely chopped
2 egg yolks
1 teaspoon Grand Marnier
1 teaspoon vanilla extract
1 teaspoon red food coloring (amount may depend on brand used)
4 egg whites
Pinch salt
1 ½ tablespoons granulated sugar
Butter and sugar for coating molds Cream Cheese Icing Sauce (Recipe Follows)

Directions:

Preheat oven to 400 degrees. Coat four 8oz soufflé molds with butter and sugar. Refrigerate molds.

Mix flour into softened butter. Bring milk to a boil. Thicken milk with butter flour mixture and cook for 2-3 minutes until thick. Remove from heat and add chocolate. When chocolate is melted, add egg yolks, one at a time, beating well after each addition. Beat in Grand Marnier and Vanilla. Add food coloring and mix (add enough food coloring for a deep red color).

Whip the egg whites with pinch of salt. Gradually add sugar a little at a time. Whip until egg whites are stiff. Fold a quarter of the egg whites into chocolate base to lighten. Fold in remaining whites. Spoon or pour mixture into prepared molds, leaving a ¼ to the rim. Reduce oven temperature to 375 degrees and place molds in middle of the oven. Bake 10-15 minutes until puffed. Serve immediately with Cream Cheese Icing Sauce.

Cream Cheese Icing Sauce

Ingredients:

3 oz cream cheese
2 tablespoons powdered sugar
2 tablespoon unsalted softened butter
2 tablespoons milk
½ teaspoon vanilla extract

Heat butter and cream cheese in microwave for 20 seconds (or briefly heat in saucepan over low heat ).  Whisk in sugar and vanilla. Whisk in milk 1 tablespoon at a time. Serve warm. Makes ¾ cup

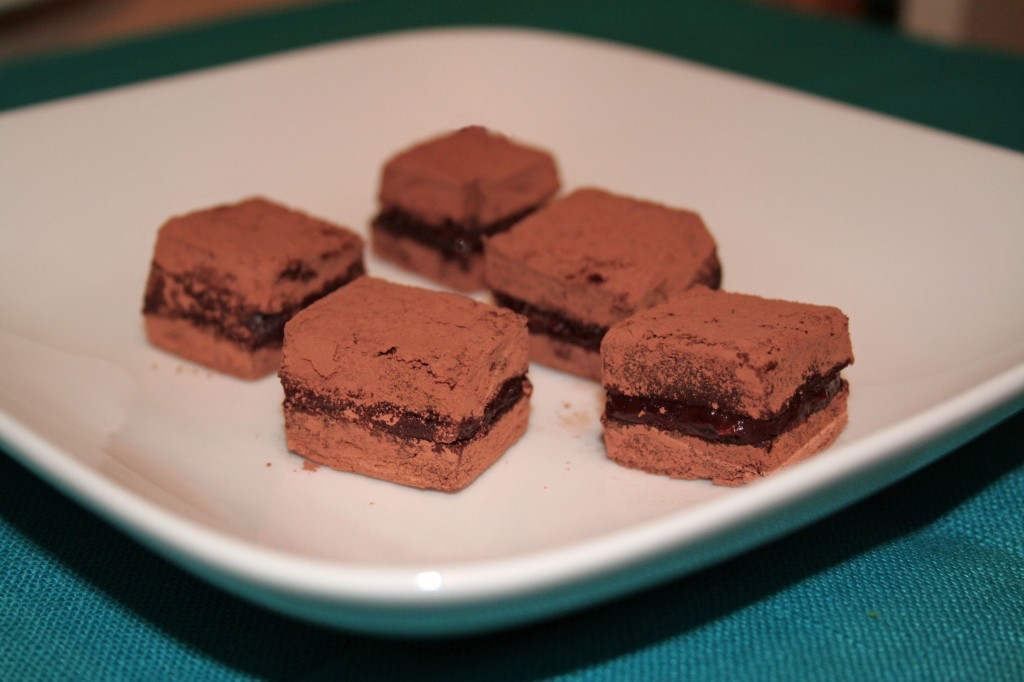
Heavenly Chocolate Cubes

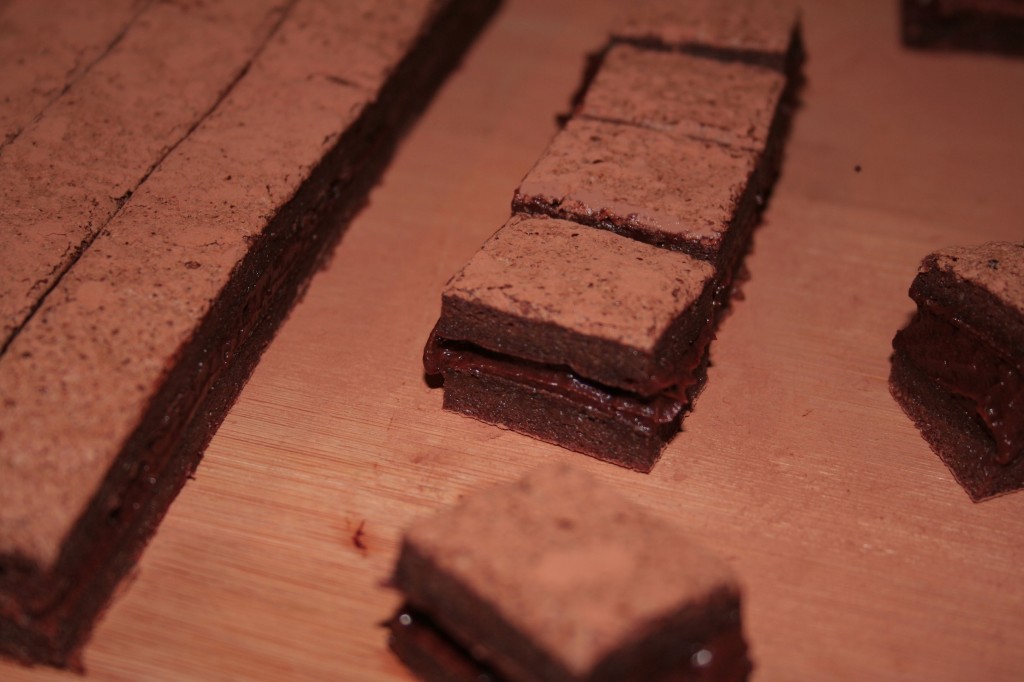
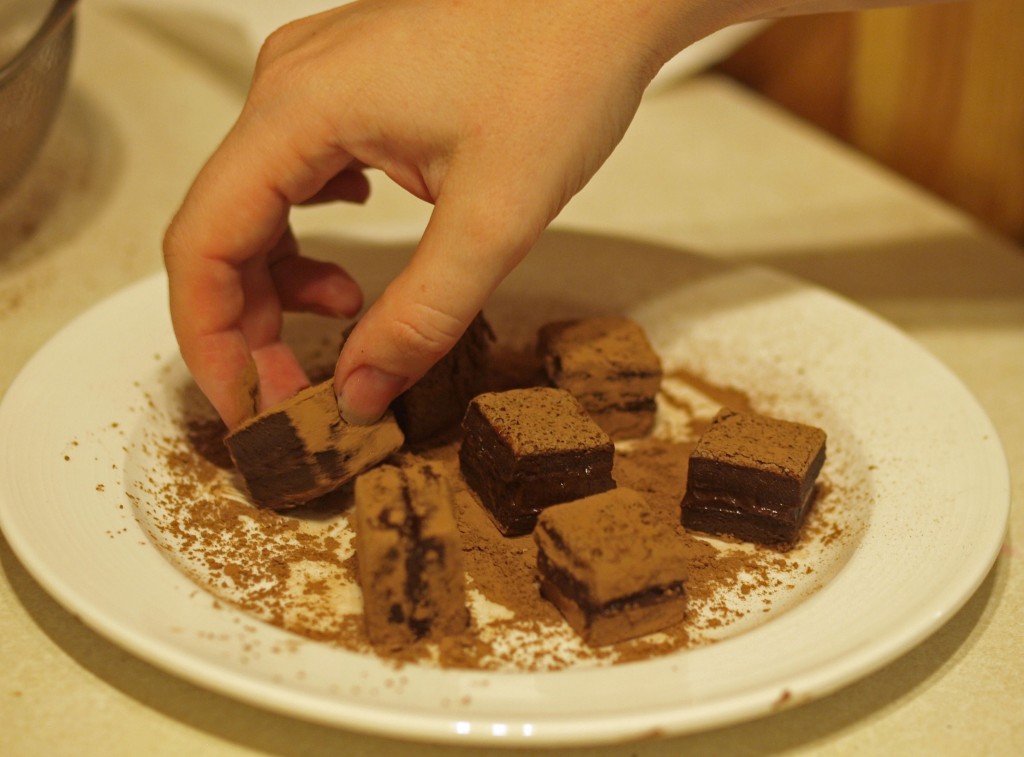
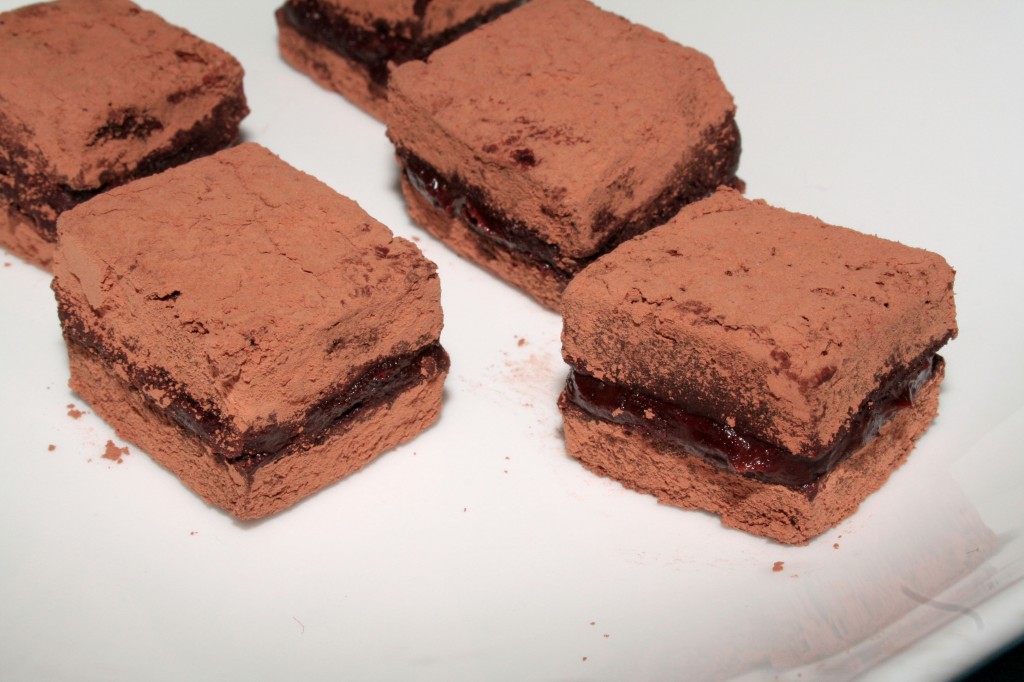
Adapted from “The Art of Fine Baking,” bite size chocolaty sponge cake sandwiches filled with mocha buttercream. Need I say more?

1 recipe prepared Chocolate Pastry
1 cup Speedy Mocha Buttercream
unsweetened cocoa powder

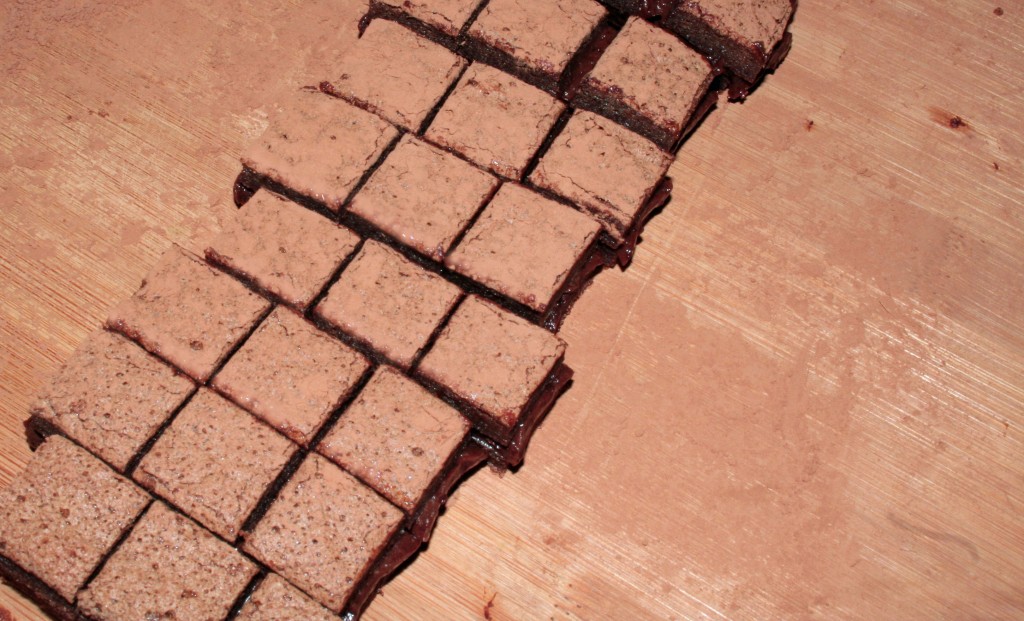
Divide pastry in half to make two equal layers. Spread one layer with buttercream. Carefully place remaining layer on top. Chill until buttercream is very firm (about 1 hour).

Dust top heavily with cocoa powder. Cut cake into 1 inch cubes, wiping knife off after each slice.


Dip sides of each square into cocoa, coating them well.

Yield: approximately 80

Rich Chocolate Velvet Cake


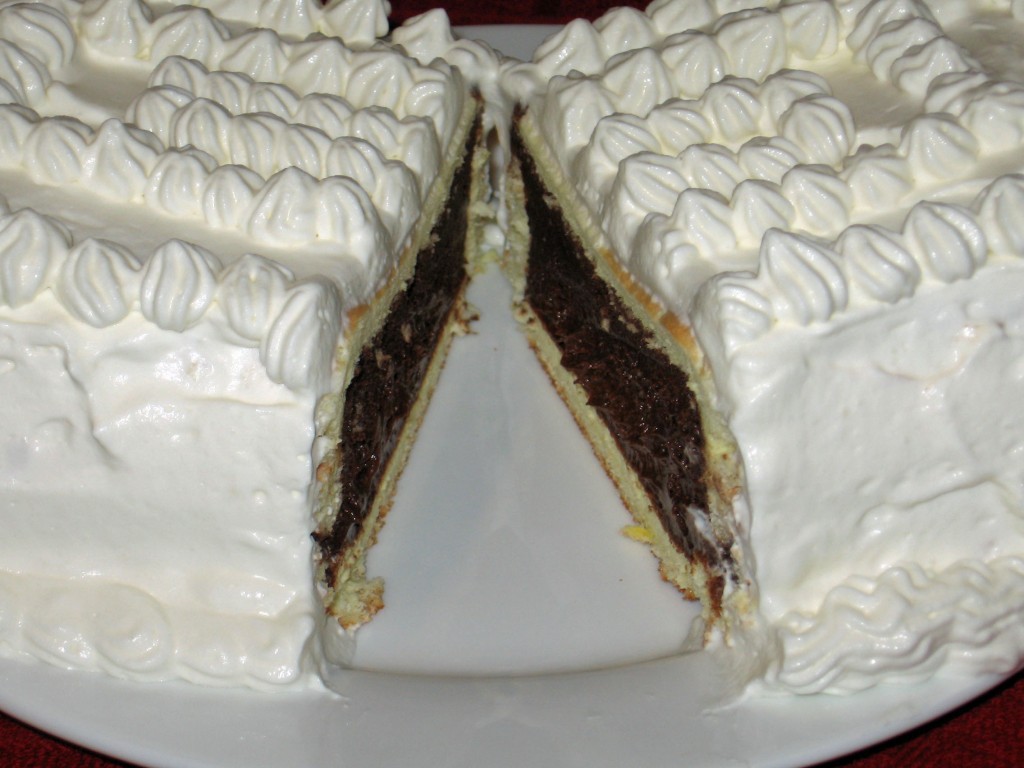
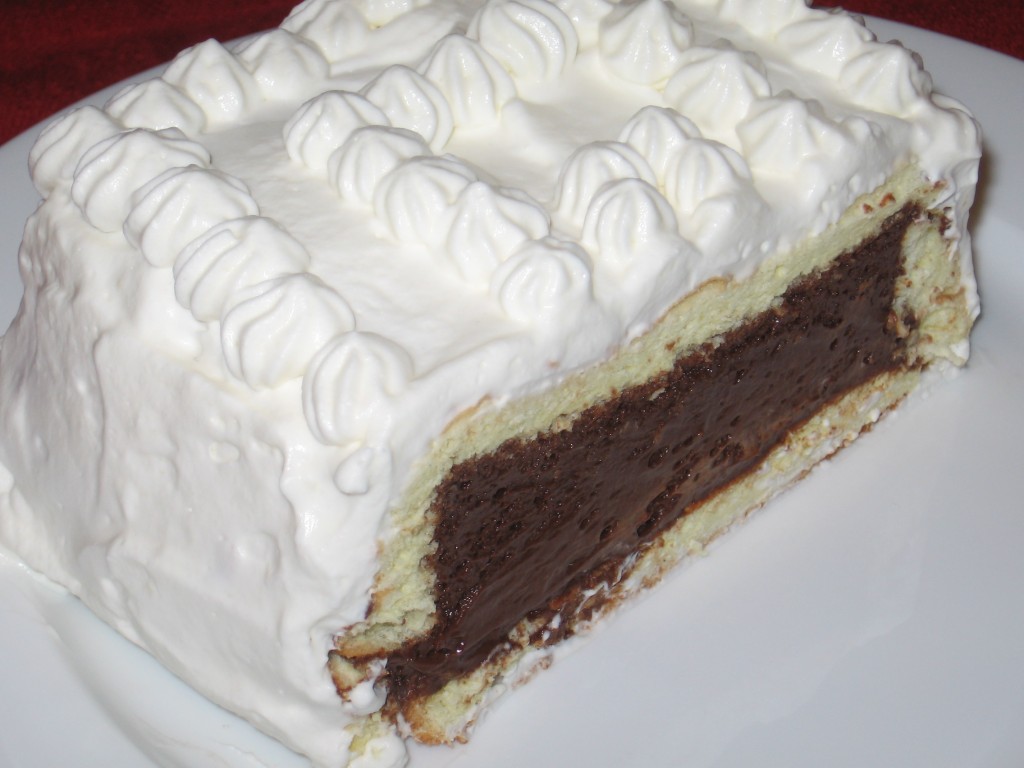
As the name suggests, this is an extremely rich luxurious cake that should probably come with the warning: for die hard chocolate lovers only. Not to be confused with red velvet cake, the sponge cake lined thick mousse center is in it’s own category of cakes. At first taste of the filling, the richness is overwhelming as the coffee brings out the dark tones in the thick chocolate but finishes with just a hint of sweet Grand Marnier. The sponge cake lining is frosted with just lightly sweetened whipped cream that balances the many different strong and subtle flavors of this velvety indulgence. Before you know it, that large slice you thought was too rich to finish, is gone.

1 recipe Basic Sponge Sheet 9 x 13
12 oz semisweet chocolate chopped
2 egg yolks
1/4 cup strong coffee
1/4 cup Grand Marnier
3 egg whites
pinch salt
2 tablespoons sugar
1/2 cup heavy cream, whipped

For the frosting:
2 cups heavy cream, whipped with 2 teaspoons vanilla extract, 1-2 teaspoons Grand Marnier, 1-2 tablespoons sugar, and gelatin (to stabilize for longer shelf life) – see note.

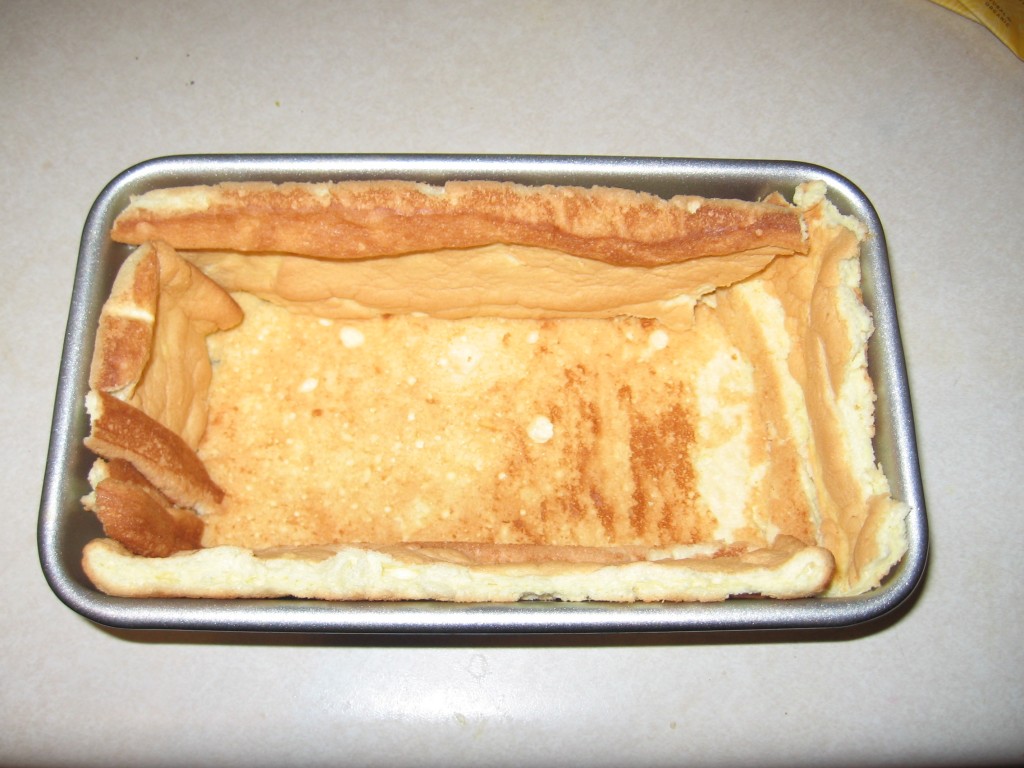
Completely line 1/2 quart mold or loaf pan with basic sponge cake by cutting out one large piece to fit the bottom of the mold; then, from remaining cake, cut out one long or two short strips to cover the sides. Reserve any sponge sheet left to make into a top later on.

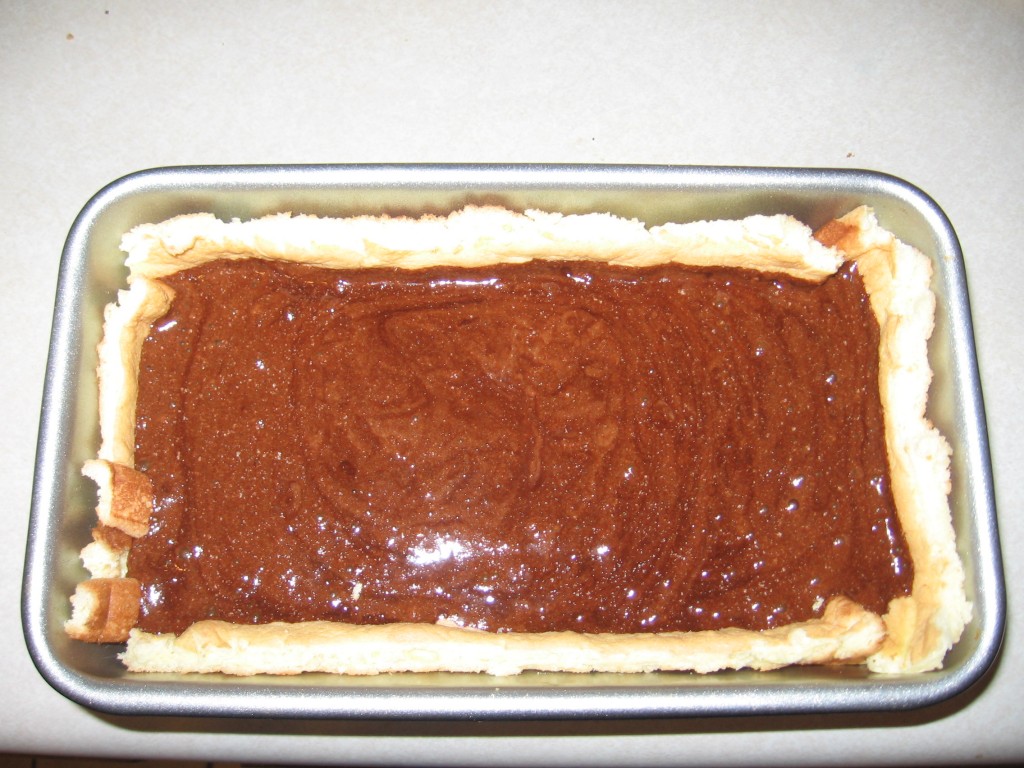
Melt chocolate (careful not to burn it) over very low heat. Add egg yolks, coffee, Grand Marnier. Stir together until smooth and heated through. Cool.

Beat egg whites with salt until they hold soft peaks. Add sugar, a tablespoon at a time, beating after each addition. Continue beating 5 more minutes, or until very stiff.

Fold unsweetened whipped cream and stiffly beaten egg whites together. Fold in about 1/4 cup of egg white cream mixture into cooled chocolate to lighten. Pour chocolate mixture into remaining egg white mixture. Fold in gently but thoroughly.

Pour into sponge cake-lined mold. Place in refrigerator for 2 hours or until filling is firm.

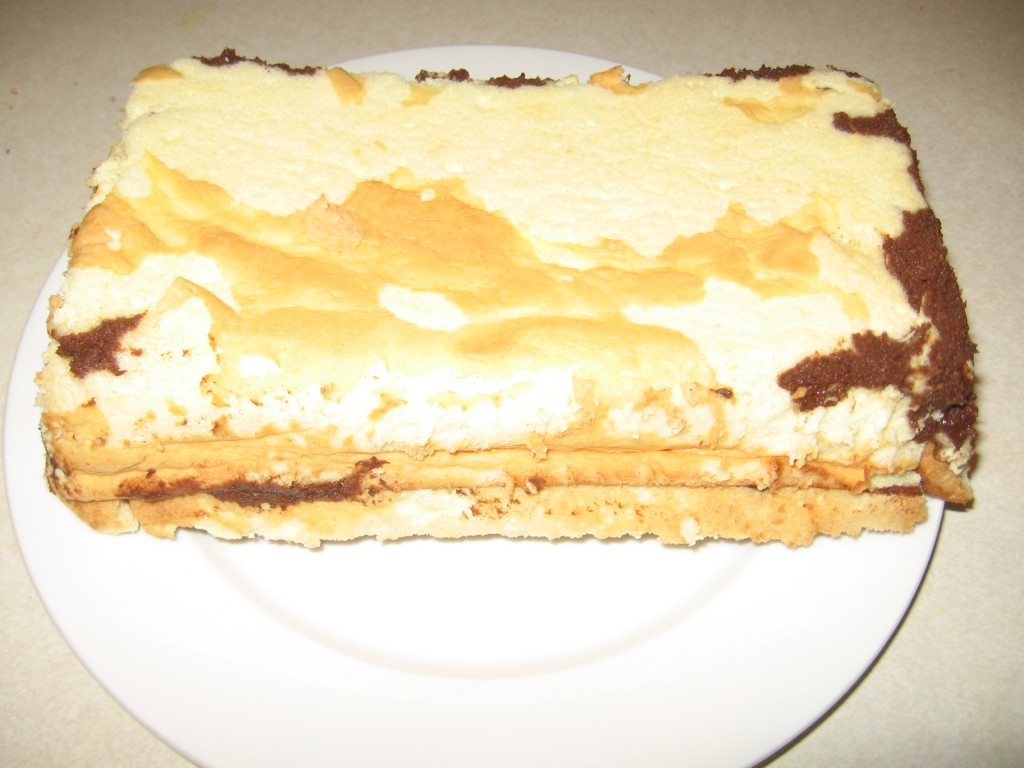
Cover with remaining sponge sheet, fitting together any bits and pieces if there isn’t a single piece large enough. Loosen sides of the mold with a sharp knife. Turn out upside down on a plate.

Frost all over with whipped cream frosting. Chill if not serving immediately. Chocolate Velvet maybe frozen before frosted, if necessary.

Note: To prepare whipped cream with gelatin, soften 1/2 teaspoon of gelatin (for each cup of cream) with a tablespoon cold water. Set over a pan of boiling water (or double boiler) until gelatin dissolves and looks clear. Beat dissolved gelatin, sugar, extract, and liqueur into the cream just as the cream begins to thicken.

Adapted by Megan Peck