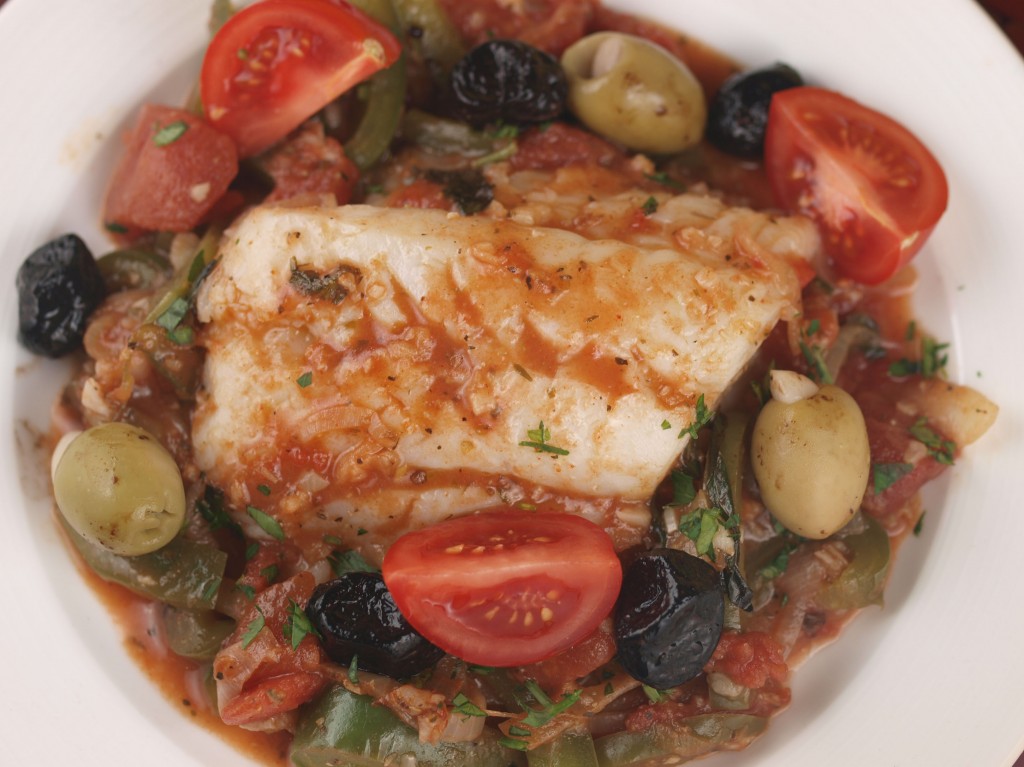
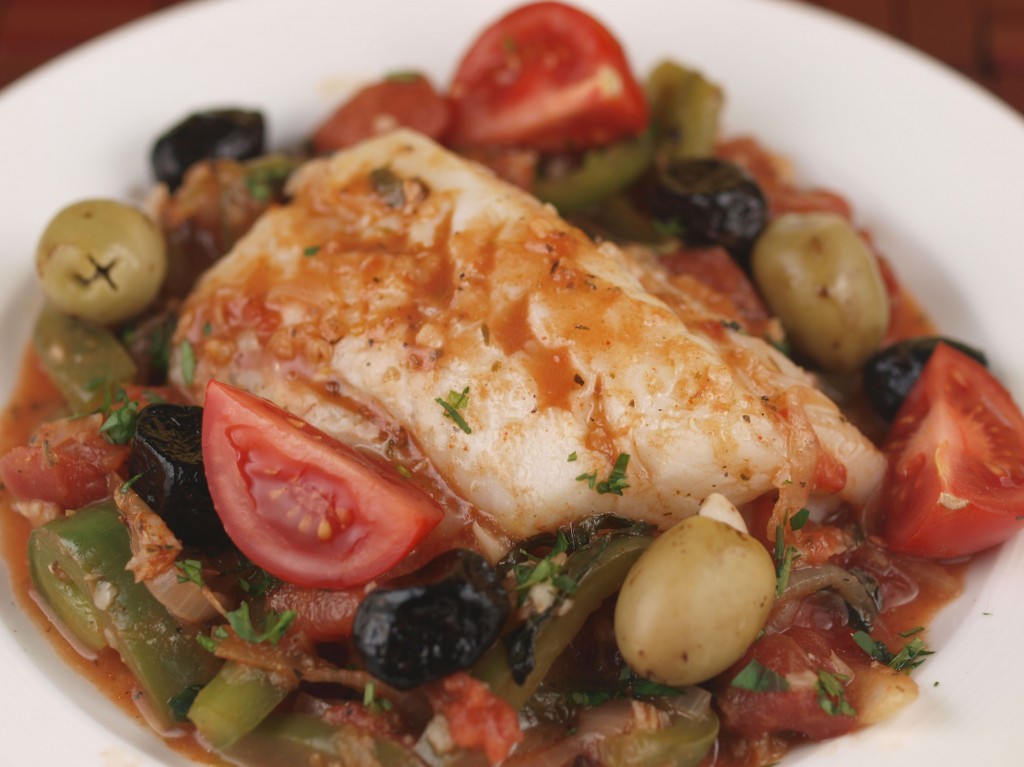
Red Snapper or Cod Veracruzana

This is one of many, quick fish dishes from “The Art of Good Cooking.” Fish is one of the most interchangeable proteins. For example, although cod or snapper are the recommended fish for this dish and they are commonly sold, you could use mackerel, bass, or even tilapia (very cheap but bland and a waste of time in my opinion). Traditionally made with Snapper, this dish originated in Mexico in the Veracruz state and is probably the most famous dish from the area. The combination of well known Mexican spices like cumin and chili powder with garlic, olives, and olive oil – ingredients that were supposedly brought to Mexico by the Spaniards – give this dish it’s unique spicy international taste and flavor.

Ingredients:

3 lbs filleted red snapper or thick cod steak
1/4 cup olive oil
3 large green peppers, seeded and sliced
3 large onions, sliced
12 garlic cloves, minced
1 teaspoon chili powder
1 teaspoon dried basil (or 1/4 cup fresh, chopped/chiffonade)
1 teaspoon dried oregano
1 large bay leaf
1 teaspoon cumin
1 cup canned tomatoes, drained
1/2 cup chicken or fish stock
cayenne pepper or hot sauce to taste
24 mixed olives
1 tablespoon chopped cilantro

Dry fish fillets with paper towels. Saute fish in a little olive oil very briefly, on both sides, until it is lightly browned. Arrange fish in a broad baking dish.

In the same pan, saute the green peppers, onions and garlic in remaining olive oil. When vegetables are just soft, stir in chili powder, basil, oregano, bay leaf, and cumin.

Place tomatoes in a small saucepan, and cook over low heat until they lose their shape and form a sauce. Add fish liquid to tomato sauce, then combine sauce with vegetable mixture. Season to taste with salt, pepper, sugar, and cayenne or hot sauce. Spoon this mixture over and around fish.. Place in a 400 degree oven for about 15-20 minutes or just until cooked through.

Sprinkle olives, fresh tomato slices, and cilantro over dish. Serve at once.

Serves 6.

Adapted from “The Art of Good Cooking” by Paula Peck.
Quick Asian Style Shrimp Saute

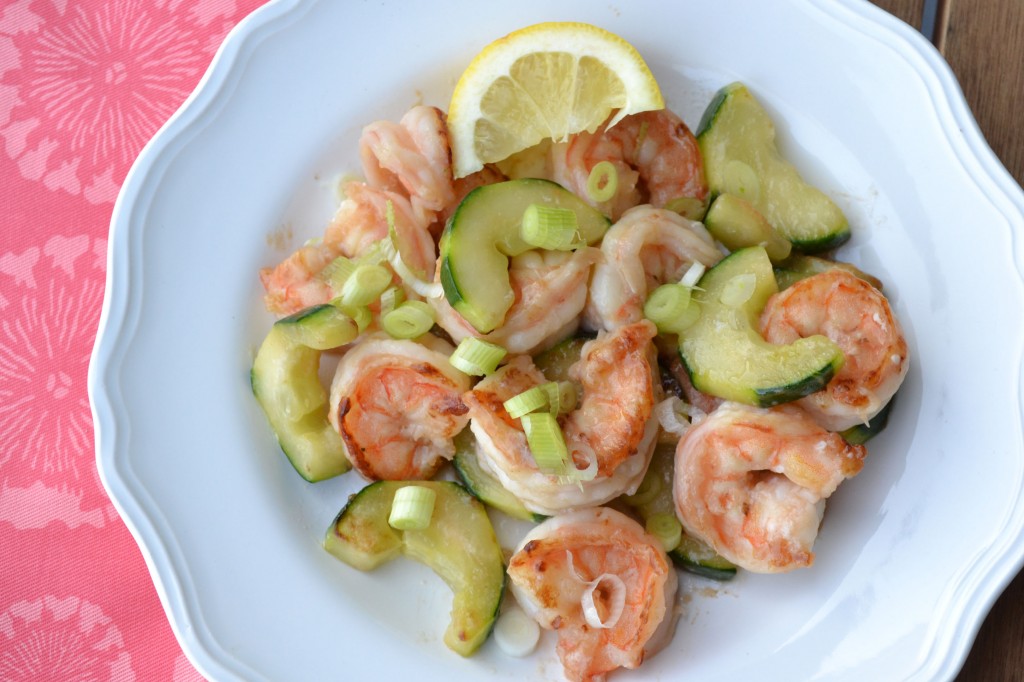
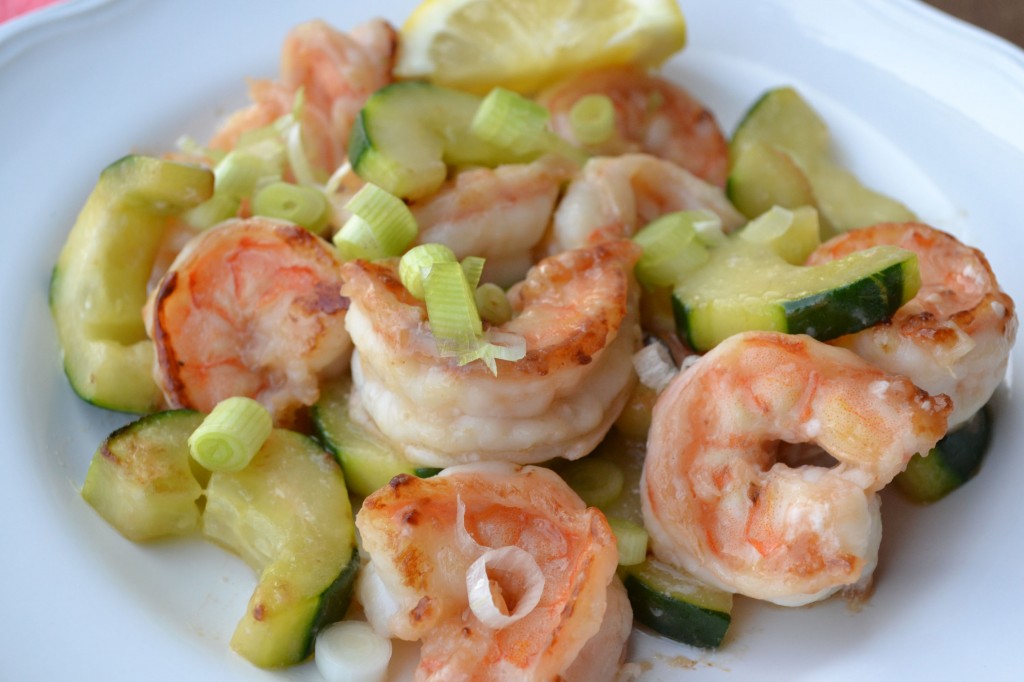
Shrimp is always a tasty treat in the summertime. Put it together with refreshing cucumber and you have a light, very quick dish. I guarantee you can make this dish at least twice in the time it takes for that Chinese delivery guy to show up. But this will be much fresher.

Chinese food has actually been in America since the late 1800’s and it made it’s way to the east coast early in the 20th century. When “The Art of Good Cooking” was written in the 1960’s, Polynesian themed restaurants were gaining popularity. Surprisingly, American Chinese food is actually a strange combination of Cantonese, Polynesian, and American cuisine. This is reflected in the sweeter ingredients like sugar and pineapple, as well as the infamous MSG that was practically considered a spice in the 1960’s. This dish is no exception and was titled “Shrimp with Cucumber, Chinese Style.” It of course includes cornstarch, sugar, and sherry (optional) which are all definitely not Authentic Chinese ingredients, but more so American Chinese ingredients (which also means kids will love it!).

Ingredients:

4 tablespoons sherry (optional)
2 tablespoons soy sauce
½ teaspoon sugar
2 tablespoons cornstarch
2 lbs shelled, cleaned raw shrimp
2 large cucumbers
2 tablespoons vegetable oil

Combine sherry (if using), soy sauce, sugar, and cornstarch. Marinate shrimp in this mixture. Peel cucumbers and cut in half; scoop out seeds with a teaspoon. Cut into ¼ inch slices. Add to shrimp mixture.

Just before serving, drain shrimp and cucumbers from marinade but reserve marinade. In a heavy skillet, heat vegetable oil until it is hot. Add shrimp and cucumbers. Saute over high heat stirring constantly, for 3 or 4 minutes, or until all shrimp are pink. Add marinade. As soon as sauce thickens, serve with fluffy steamed rice. Garnish with chopped scallions.

Serves 5-6.

Tricolor Potato Salad

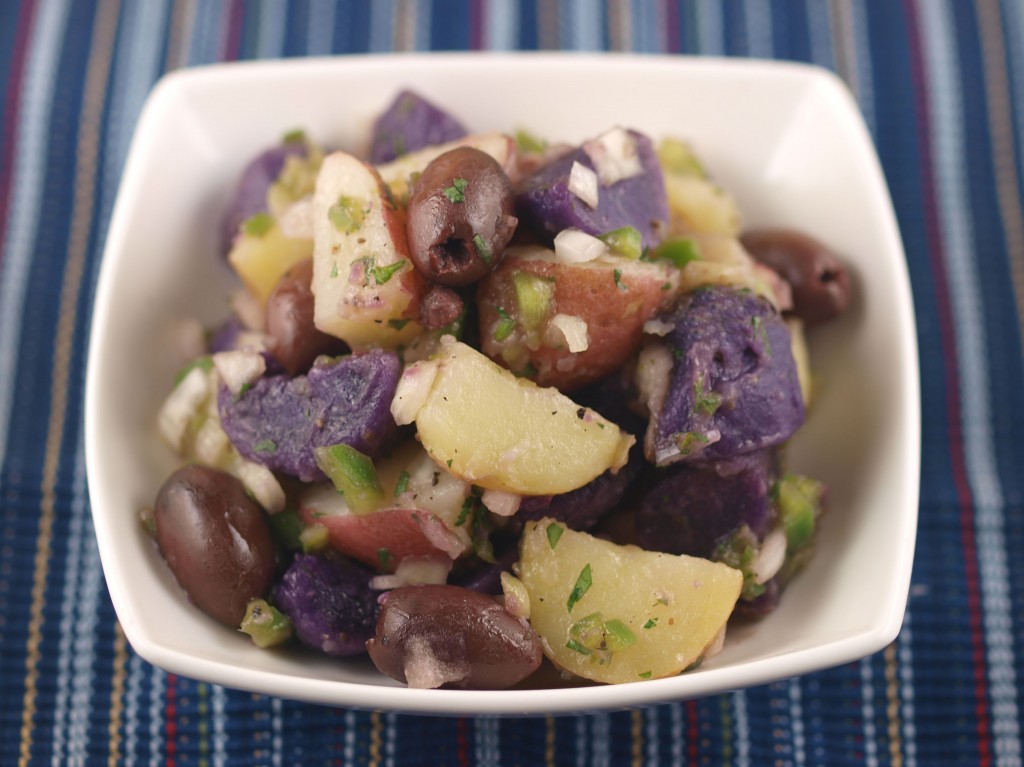
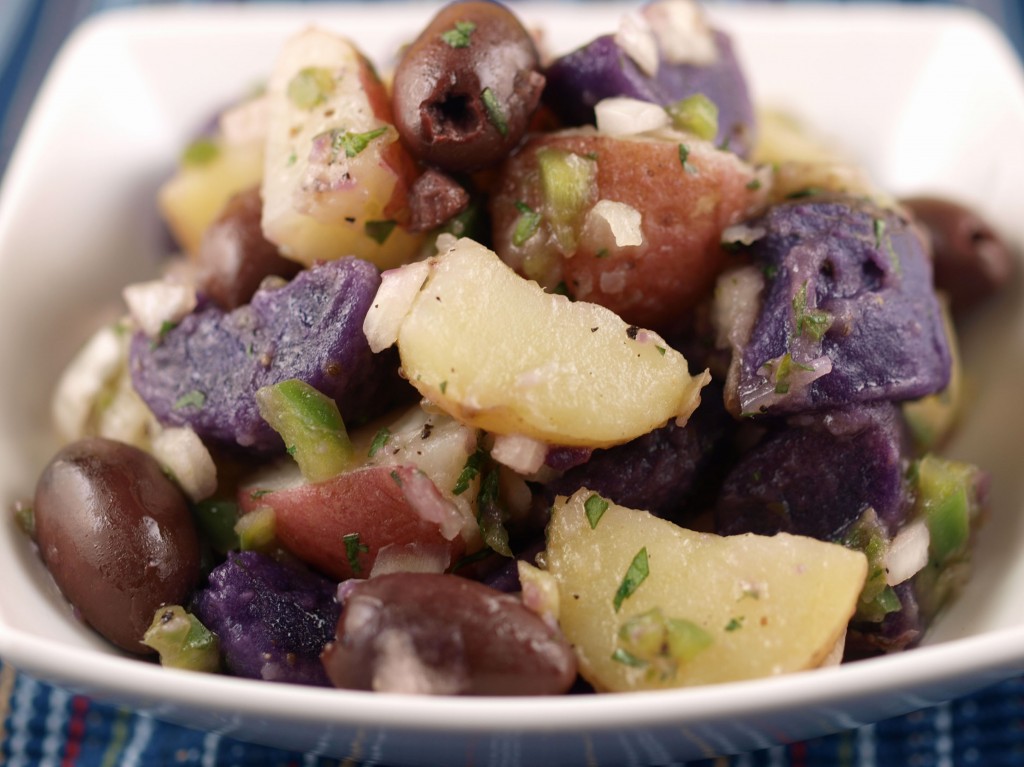
In the interest of the hot summer days ahead, I’m continuing my testing of easy classic salads. The simplicity of some of the salad recipes in “The Art of Good Cooking” is refreshing. The base of this potato salad recipe, for example, has just five ingredients (not including the dressing). To change it up a little, I added kalamata olives and used tricolor baby potatoes. You’ll find these bite size potatoes sold in mesh bags which usually include purple “Peruvian” potatoes (who’s skin, I found, falls off easily after cooking), red potatoes, and white potatoes- similar to fingerlings. You could, of course, use all one type of potato, but what’s the fun in that?

Potato salad has somewhat of a lengthy history that’s intertwined with the long and overwhelming history of the potato, of course. As a basic salad that includes potatoes and some kind of dressing, many different countries (mostly European) have their own versions. Though I haven’t been able to find any official documentation, it seems German potato salad was one of the first (or the first) potato salads to make it to the US. Interestingly, my grandmother mentions in her notes for this recipe that German potato salad normally contains mayo, but that this vinaigrette version was preferred by her family. I always thought the opposite: that German potato salad never had mayo and always had some type of vinaigrette. After a little research, it appears that different parts of Germany have different “traditional” German potato salads. Some are creamier and often contain mayo, while others do not.

I included two sets of instructions below: the original and modified. Since I often don’t want the extra heat from the oven in the summertime (and prefer a quicker version), I like to simply cook the potatoes and dress them. The original recipe requires cooking and then baking them. Both methods are delicious. Since potatoes hold up well to seasoning and salt, kalamata olives are a welcome contrast in both texture and flavor. Pack this one away for your next party in the park and happy picnicking.

Ingredients

2 lbs tricolor baby creamer potatoes
1/2 cup chicken stock
1/4 cup olive oil (2/3 cups for the baking version)
4 tablespoons red wine vinegar
salt and pepper
1 onion, minced
1 small green pepper, minced
1/3 cup parsley
3/4 cup pitted kalamata olives

Modified Quick Cooking Version
Wash potatoes; place in a deep pot. Cover potatoes with water and stock. Bring to a boil, then lower heat and simmer until potatoes are tender when pierced with a fork. Drain and cool until they can be easily handled. Peel the purple potatoes. Cut all potatoes in quarters.

Whisk together oil and vinegar until emulsified. Add vinaigrette to warm potatoes and refrigerate until cold.

Add olives, minced onion, green pepper, and chopped parsley.

Original Version
Wash potatoes; place in a deep pot. Cover potatoes with water and bring to a boil. Lower heat and simmer until potatoes are tender when pierced with a fork. Drain, cool, and refrigerate until they are cold. Peel the purple potatoes. Slice all potatoes and place in an oven-proof dish.

Add chicken stock, olive oil and vinegar, and season with salt and pepper. Place in a 350 degree oven for 1/2 hour, or until the potatoes are hot and liquid is simmering. Remove potatoes from oven and allow them to stand until lukewarm.

Add olives, minced onion, green pepper, and chopped parsley. Chill and serve.

Serves 6

Adapted from “The Art of Good Cooking” by Paula Peck.
Stuffed Squid

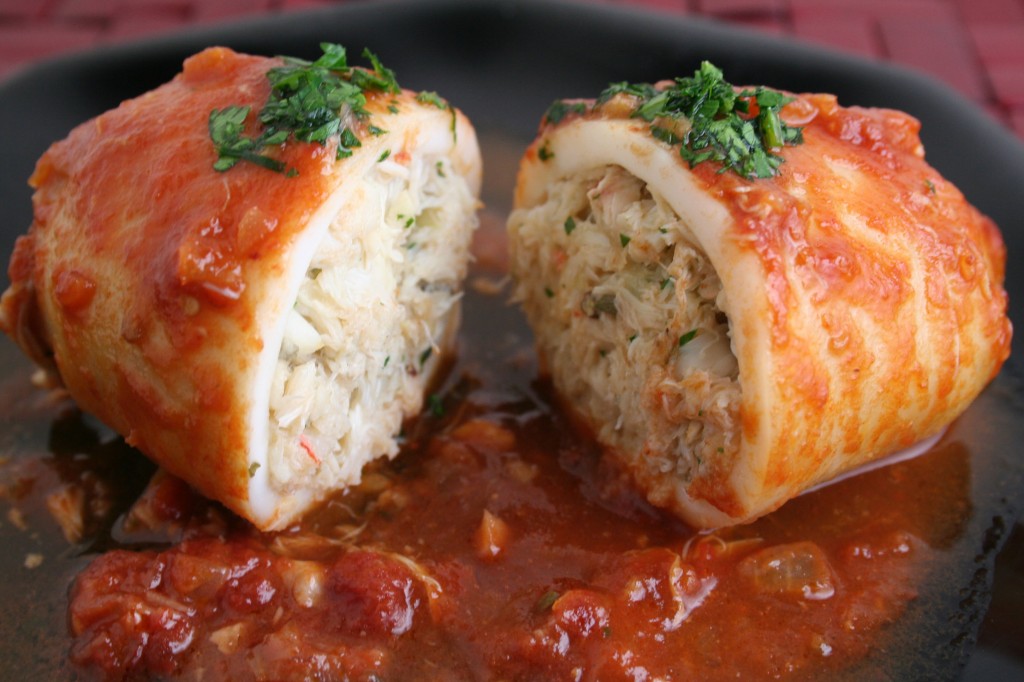
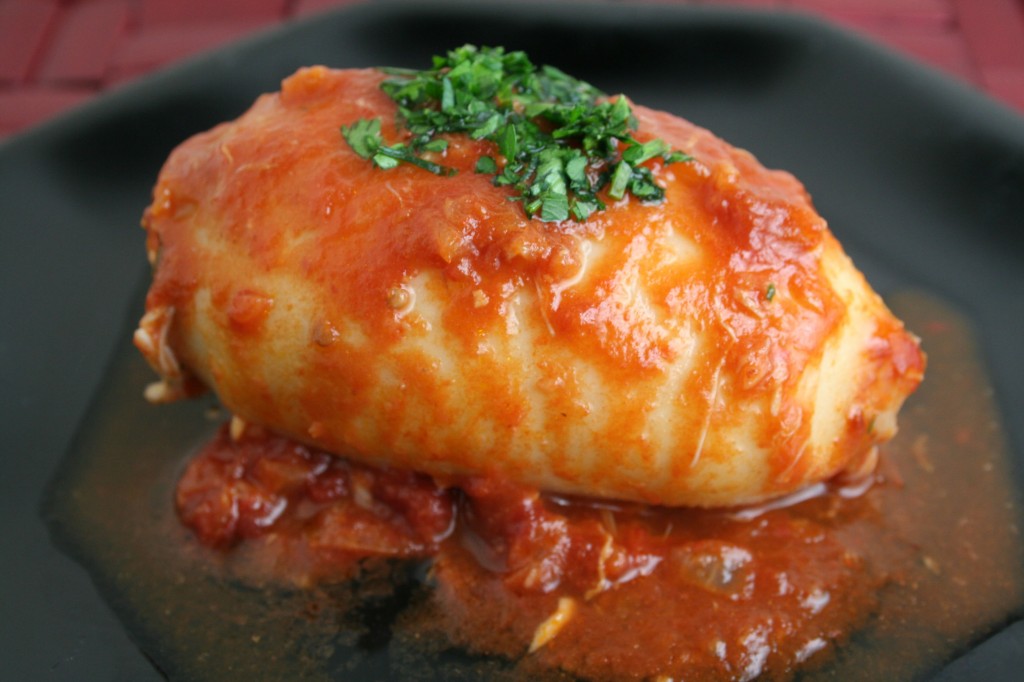
I know what your thinking about this photo. What are those awkward tubular things with pale centers speckled with green. Are they giant croquettes? No…it’s a seafood delight: whole squid stuffed with a crab shrimp combination smothered in a tomato wine sauce. If you’re a seafood lover than this dish is for you.

I made very few changes to this Italian based dish from “The Art of Good Cooking.” Primarily, I just eliminated the beef gravy because it’s often too time consuming to make and using a canned gravy with fresh seafood seems like a waste. As with all seafood, the two most important elements for success are: 1. To use the freshest seafood 2. Not to over cook any of it, especially the squid. If you manage these two tasks, you’ll end up with a soft buttery mix of lump crab meat and tender shrimp surrounded by light fresh squid with just the slightest bite. Save this one for a special occasion.

Ingredients:

6 medium-size squid
1 onion, chopped
6 cloves garlic, minced
1/4 cup melted butter
1/2 cup chopped parsley
1 teaspoon tarragon
1 1/2 cups finely chopped cooked shrimp
1 1/2 cups finely chopped cooked crabmeat
salt and pepper
1/2 cup scallions
1 cup tomato puree
1/2 cup red wine
Saute chopped onion and half of the minced garlic in half melted butter. When vegetables are soft, add chopped parsley, tarragon, shrimp, and crabmeat. Toss well together. Season well with salt and pepper.

Stuff this filling firmly into the cleaned squid tubes. Heat remaining butter in saucepan. Add chopped scallions and remaining garlic. Saute till tender. Add tomato puree and wine. Bring to a boil and simmer for 5 minutes. Lower heat. Add stuffed squid and simmer until squid are tender, about  20-30 minutes. Garnish with chopped parsley.

Serves 6.

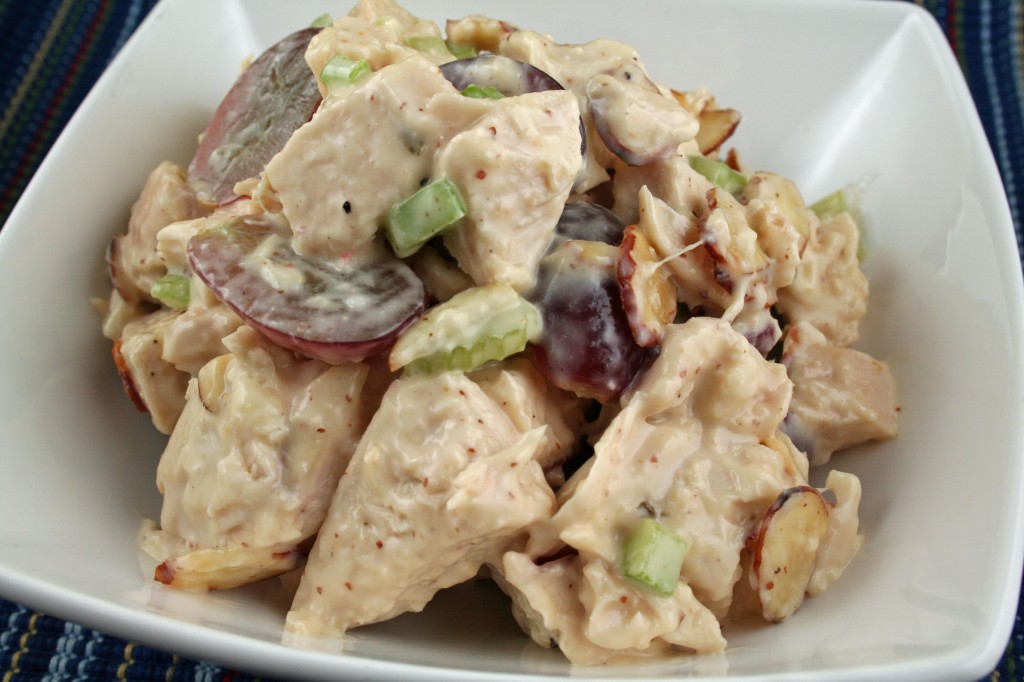
Classic Chicken Salad

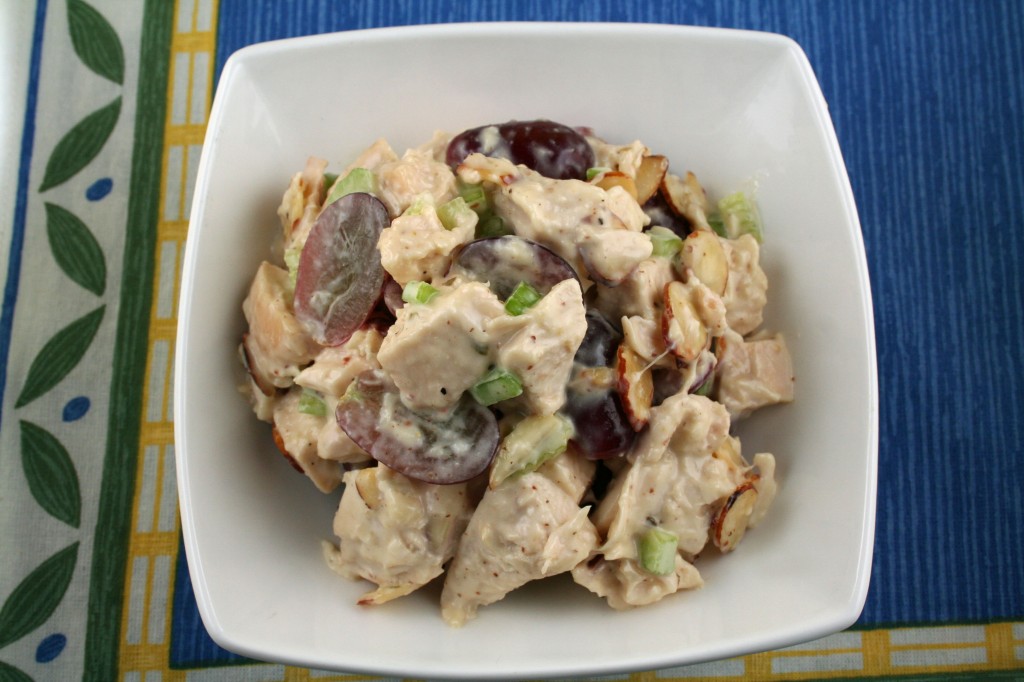
As one of those American picnic salad staples like egg salad, coleslaw, or macaroni salad, chicken salad is often considered a little boring with its mayo base. Though happily sandwiched between lettuce and two slices if bread, a good chicken salad can easily stand on its own. This recipe comes from what I consider a good base recipe in “The Art of Good Cooking.” It benefits from small additions and changes to make it homier, interesting, and less institutional.

As recommended in the original recipe, I made the mayo base from scratch which gives it a much richer flavor. Red grapes provide the sweet contrast between each bite and the sliced almonds fulfill the craving for a nutty crunch. I also added celery and scallions for a crisp freshness. Simple and perfect for a spring picnic or on-the-go lunch, this is a mayo based chicken salad that doesn’t go out of style.

Note: If using store bought mayo, add about 1 teaspoon of lemon juice. The acidity helps balance the fat and richness of the mayo and chicken.

Ingredients:

8 chicken breast halves, skin on bone in
chicken stock
1 cup chopped celery
3/4 cup sliced almonds, toasted
1 cup seedless grapes, halved
1 teaspoon chopped fresh tarragon
2 scallions, chopped
2 tablespoons chopped parsley (optional)
1 cup diced boiled ham (optional)
salt and freshly ground pepper
1 cup homemade mayonnaise

Place chicken breasts in a low, wide saucepan. Add enough well seasoned stock just to cover the chicken. Bring to a boil. Lower heat and simmer breasts for just 8 minutes. Remove chicken from stock.

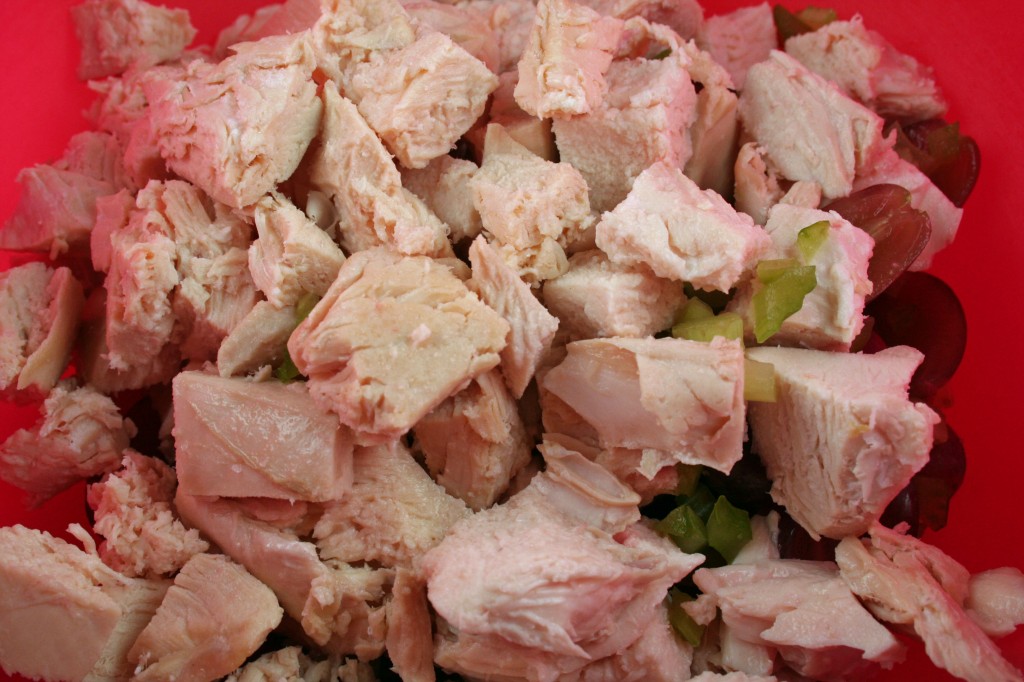
When chicken is cool enough to handle, pull off skin and pull the meat away from the bones. Cut the chicken into 3/4 inch chunks. Place them in a bowl.

Add ham (if using), celery, almonds, grapes, tarragon, scallions, parsley (if using), salt and pepper. Add mayonnaise and toss lightly. Taste and correct seasoning.

Serves 8

Adapted from “The Art of Good Cooking”

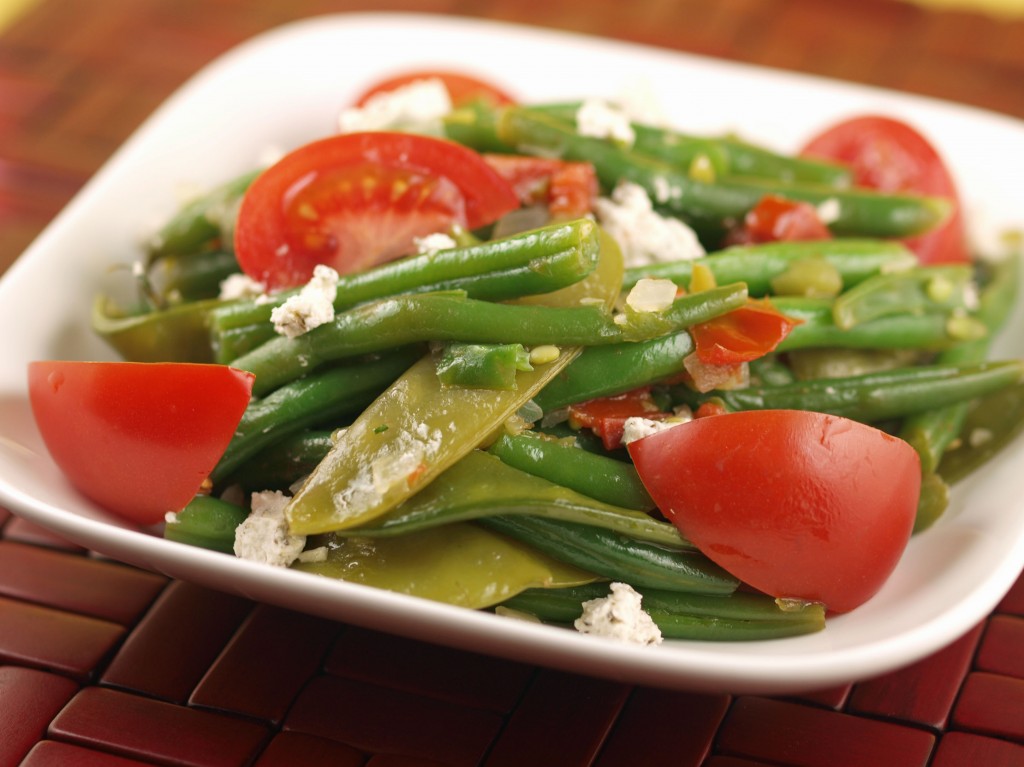
Green Beans Catalan

I haven’t been overly impressed with the vegetables section of “The Art of Good Cooking.” In my opinion, this is the most dated part of the book where it truly shows it’s age. Too much olive oil or butter, often unappetizing soft veggies, more frozen veggies than fresh, and what we would normally try to make clean and simple today, is loaded down with fatty ingredients like mayo or bacon fat. I completely understand why this section is the way it is. No one in the 1960’s was eating kale salads or “super greens.” Like most of her cooking, which was often influenced by friend and mentor, James Beard, my grandmother’s recipes were based on classic French techniques. This is not to say that this section can’t be modernized and updated like the others. It’s just a little more challenging.

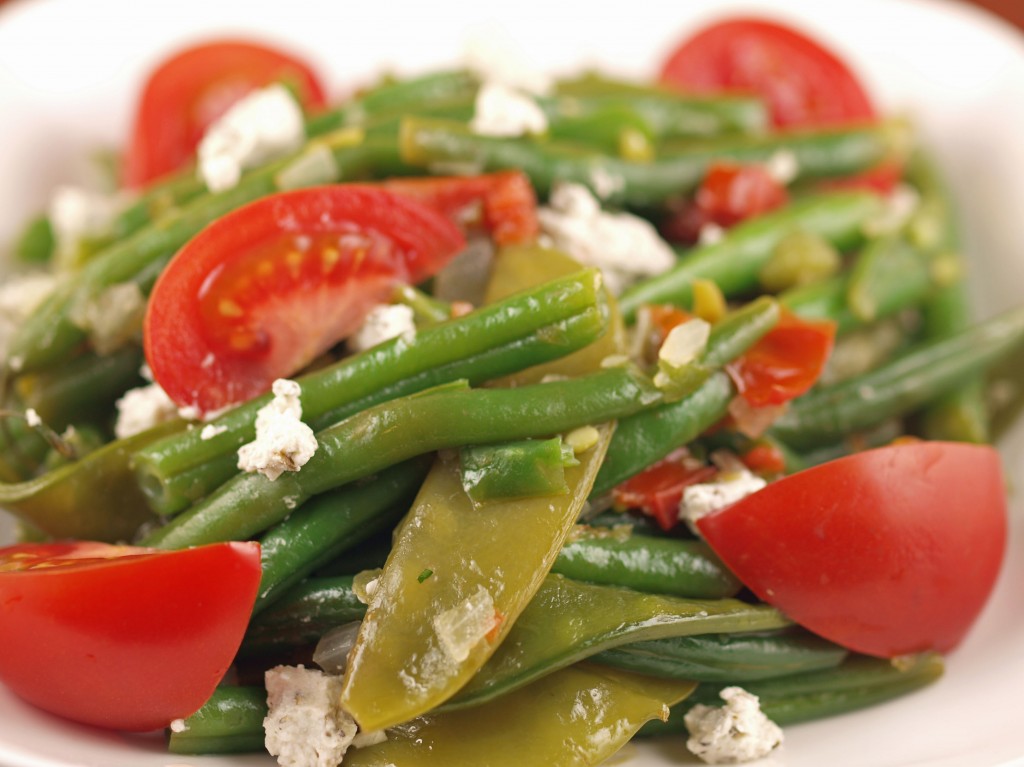
This is a very simple recipe from the vegetables section. Per my research on Catalan cuisine, my changes and additions may make it less authentic, as this seems to historically refer to the northeast region of Spain and it’s Mediterranean style cooking (such as the olives and capers I left out). However, it’s quick and the reduced olive oil (1/4 cup to 2 tablespoons) as well as the addition of goat cheese and tomatoes, makes it colorful and healthy.

Ingredients:

4 cups green beans, cut in 1″ pieces
2 tablespoons olive oil
1 onion, chopped
4 cloves garlic, minced
1 large tomato, peeled (optional) and chopped
1 small green pepper, minced
1/2 cup snap peas
1/4 cup white wine
salt and pepper
2 tablespoons chopped parsley
1/2 cup black olives (optional)
1 tablespoon capers (optional)
crumbled goat cheese
tomato, quartered

Place green beans in heavy saucepan. Add olive oil, onion, garlic, green pepper, snap peas, and wine. Season, cover tightly, and cook over medium heat until green beans are tender and very little liquid is left in the pan. Check seasoning and add parsley.

Serve with your choice of garnish: goat cheese, tomato quarters, olives, and/or capers.

Serves 6.

A few technical notes about this recipe:
Peeling the tomato before chopping is optional but if you don’t, you may end up with pieces of the skin throughout the dish (as you might see in some of these photos). I personally  don’t mind this but it can be avoided by quickly blanching the tomatoes in boiling water and peeling the skin off.
The snap peas may cook faster than the green beans. To avoid, add them after the green bean mixture has been cooking a few minutes on medium.

Stuffed Cabbage Soup

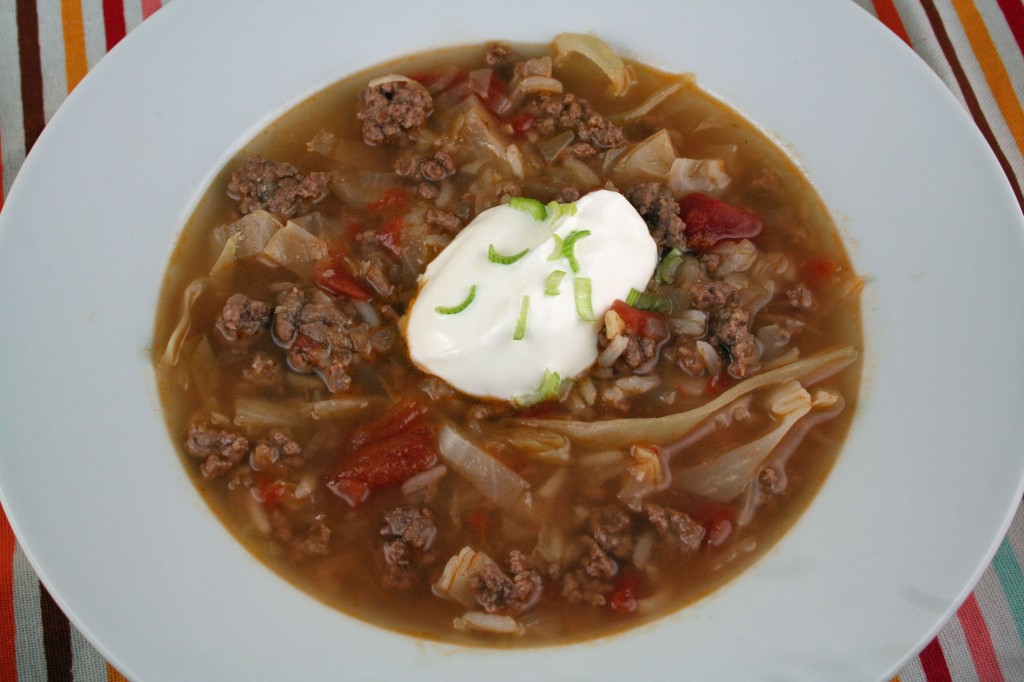
I love this soup. With spring ending in the next month or so, I know it’s a little late to be writing about hot soups (cold soups coming soon!) but this unseasonable cold snap we’ve had here in NYC, inspired me. The original title of this recipe from “The Art of Good Cooking” was just “Cabbage Soup,” which doesn’t sound very appealing. After brief review of the ingredients, I realized that with just a few tweaks, this could easily be a deconstructed stuffed cabbage soup. Change the beef brisket to ground beef (cheaper and easier), add rice, and this is one delicious soup. If you don’t like cabbage, you will still like this soup and you’ll be surprised at how unrecognizable the cabbage is. However, if you don’t like sauerkraut, you may not have as much luck. It adds a subtle pickled tang in the background that I personally love. Maybe I’m biased because at one point in my life I liked stuffed cabbage so much I bought the Lean Cuisine version regularly (sad but true). However, as a quick one pot weeknight meal that’s fairly healthy, this has become one of my favorite soups.

Ingredients:

1.5 lb ground beef
3 cloves garlic, chopped
1 onion, chopped
2 1/2 quarts stock or water
1 can diced tomatoes
1/2 a cabbage (about 2.5 lbs), coarsely chopped, core removed
1/2 cup sauerkraut washed in cold water and squeezed dry
1/2 cup white conventional rice
salt and pepper
1/4 cup lemon juice
2 tablespoons cornstarch (optional)
sour cream

Heat a deep soup pot over medium heat. Add about a tablespoon of oil. Add ground beef and brown, breaking up the meat into smaller pieces, about 3-4 minutes. Remove meat from heat and set aside.

Drain all but about a tablespoon of fat from the soup pot. Heat over medium and add onion and garlic. Saute until onions are almost translucent. Add shredded cabbage, sauerkraut, some salt, and pepper. Saute another 3-4 minutes to soften. Add stock and tomatoes. Bring to a boil and add rice. Reduce to a simmer and cook until rice is just barely softened. If using cornstarch, stir a half cup liquid from soup pot into cornstarch. Then stir mixture back into soup. Add lemon juice.

Serve with dollops of sour cream.

Serves 12 to 14.


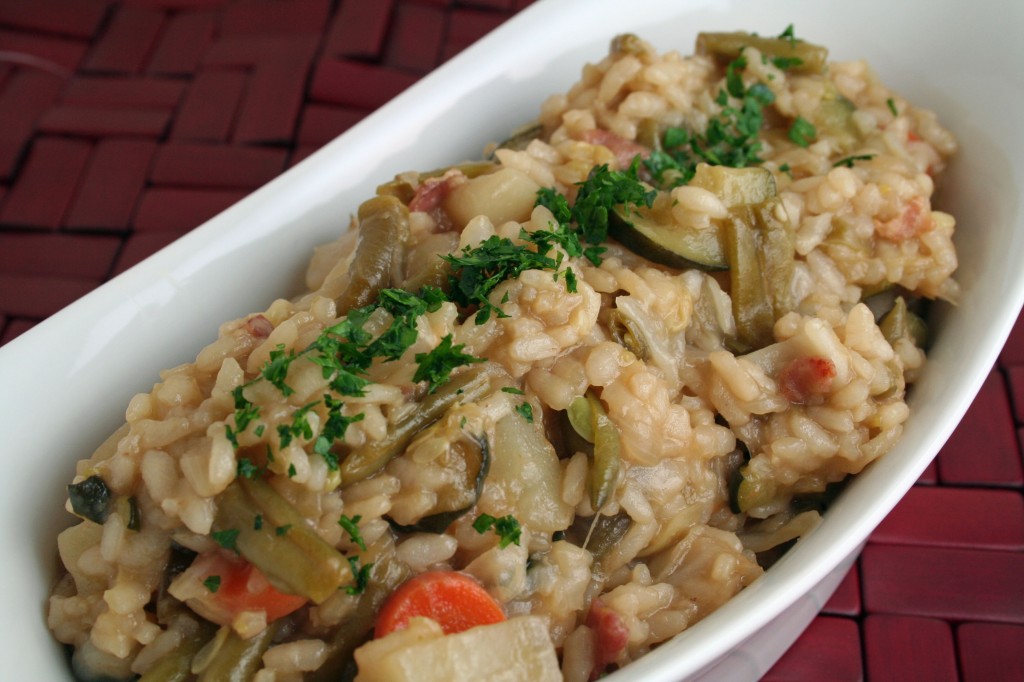
Vegetable Risotto

In true Paula Peck fashion, this seemingly vegetarian recipe actually includes bacon. It definitely adds a smokey deep flavor to the dish. Possibly so rich it could be eaten as a meal by itself. However, the bacon can easily be omitted for a slightly lighter, more vegetarian friendly version. I use what I know as the traditional method for making a risotto: stock or liquid is added a little at a time, allowing to absorb after each addition. Her recipe from “The Art of Good Cooking” is a little more like rice pilaf, where most of the liquid is added all at once and put in the oven until the liquid is absorbed. I personally like to watch the rice and texture as it softens to ensure the rice doesn’t overcook. I’m more comfortable with this stove top method and prefer to save the oven for pilaf but I have included both instructions below.
This is also a great recipe for using all of that wonderful spring produce that should be available any day now. Feel free to swap out the vegetables for whatever you have on hand.

Ingredients:

2 tablespoons unsalted butter
4 slices of bacon
2 tablespoons olive oil
1 small onion, chopped
3 cloves garlic, minced
2 potatoes, peeled and diced
2 carrots, diced
3 small zucchini, halved and sliced
2 cups shredded cabbage
1 – 10oz package frozen cut beans
2 cups arborio rice
3 1/2 – 4 cups stock or a mixture of stock and tomato juice
salt and pepper
1/4 grated Parmesan cheese

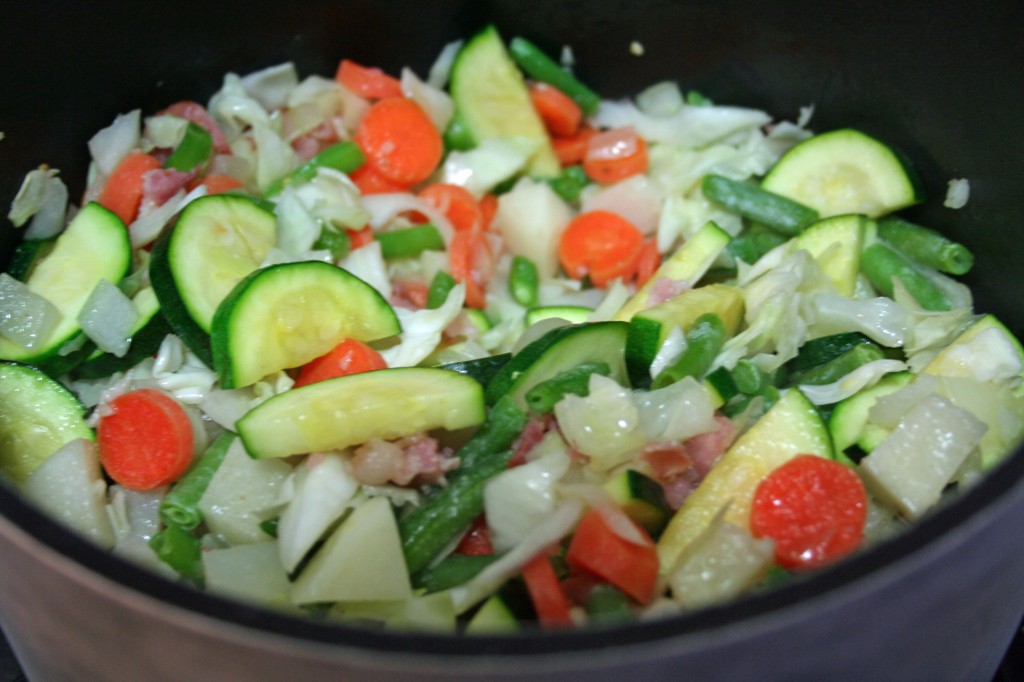
Combine butter, bacon, and olive oil in a deep, heavy pot. When hot and bacon is sizzling, add onion, garlic, potatoes, and carrot. Saute over high heat for 4-5 minutes. Add remaining vegetables and saute for another 5 minutes. Season with salt and pepper. Add dry rice and saute for a few minutes longer.

Stovetop Method
Meanwhile warm stock over medium heat until simmering. Remove from heat.
Add stock to rice mixture, about a 1/2 cup at a time, stirring constantly and allowing each addition to absorb before adding the next, until the rice is tender but still firm to the bite and the mixture is creamy. About 20 minutes total. Season with salt and pepper and stir in Parmesan cheese.

Original/Oven Method
Add 3 cups of liquid (stock, tomato juice, or any combination), along with a good amount of salt and pepper. Place in 350 degree oven, uncovered, and allow to simmer until liquid is almost absorbed. Add a little more liquid, and continue to cook, uncovered until rice and vegetables are tender. A bit more or less, liquid maybe needed. Check seasoning and stir in grated Parmesan cheese.

Serves 6-8


Cheesy Bean Burger Blasters

Since I was curious about making homemade refried beans and Paula Peck’s Mexican/Tex-Mex style recipes are almost always excellent and reliable (she spent time cooking in Mexico- more about that later), I decided to try this gem of a recipe for Refried Bean Cakes that is tucked away in the vegetable section of “The Art of Good Cooking.”

A friend mentioned that the name didn’t do these tasty little patties justice. Like myself, she couldn’t get over how flavorful the homemade refried beans were by themselves, especially with so few ingredients. I kept saying she had to try them and her response was something like “homemade refried beans? Um…ok…interesting.” After tasting them, this quickly turned to “wow, i could just sit and eat a whole bowl of that stuff by itself.” Maybe the name Cheesy Bean Burger Blasters isn’t that much better but it’s at least interesting and fun to try to say five times fast.

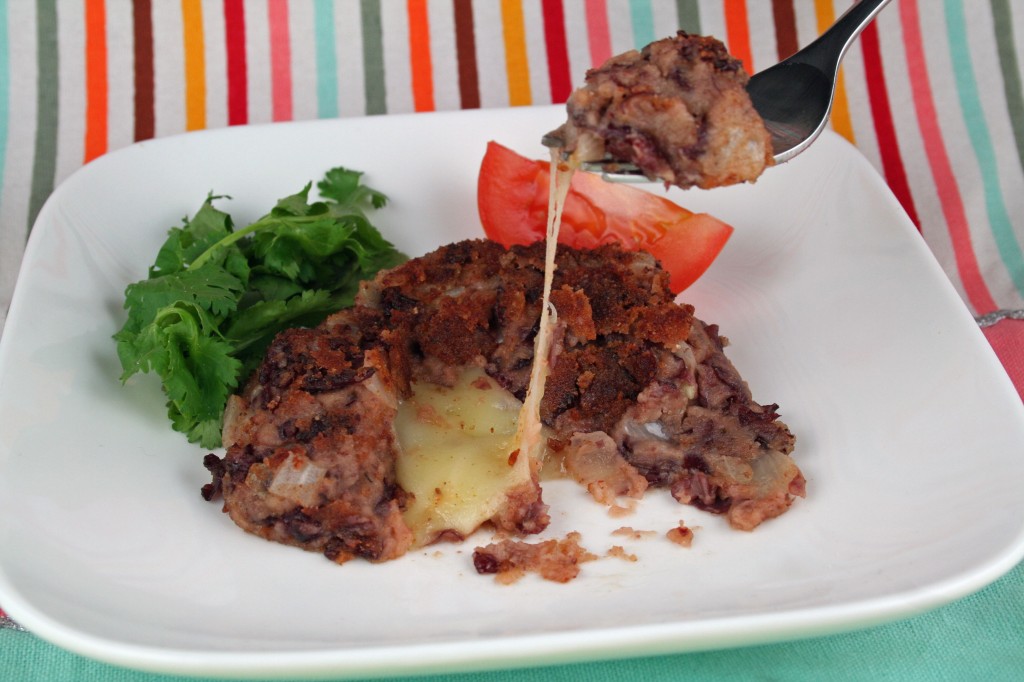
Simplicity is key here and these are not to be confused with canned refried beans or the soupy mess that comes with your enchiladas at your neighborhood Mexican restaurant. When turned into a patty with melted ooey gooey cheese in the center, it’s just a rich amazing mess of deliciousness.

Ingredients:

1 recipe Homemade Refried Beans
1/2 cup grated Parmesan cheese
3/4 cup finely chopped onion
6 pieces Jack, Mozzarella, or melting cheese of your choice, each 1″ x 1″ x 1/2″
3/4 dry bread crumbs
oil or butter for sauteing

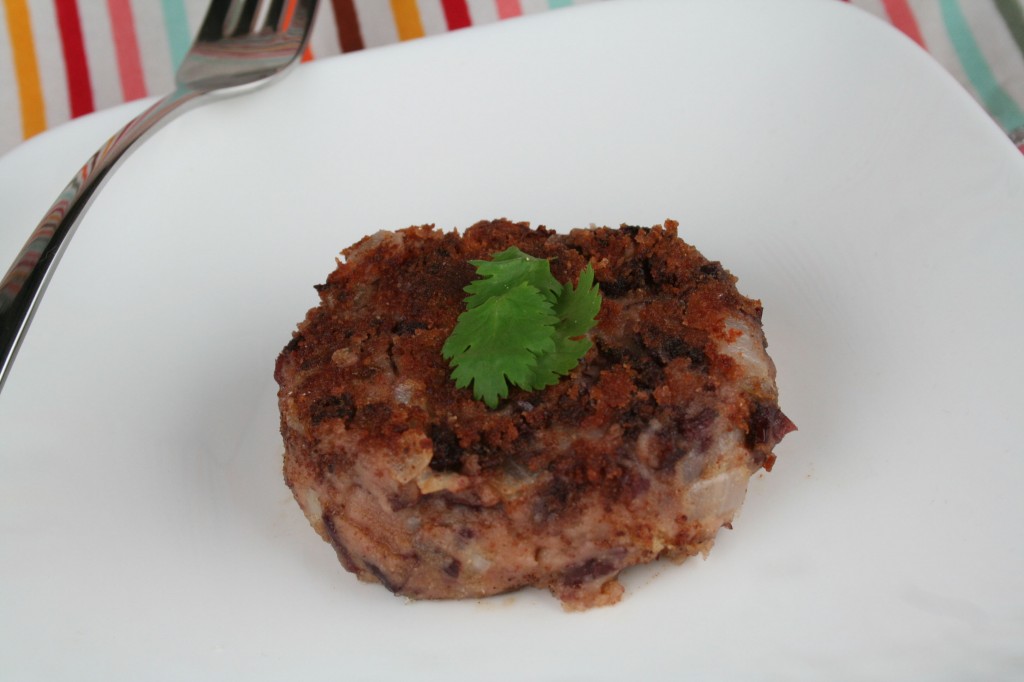
Add grated cheese and chopped onion to refried beans and refrigerate until cold. Divide mixture into six parts. Shape each part into a patty, pushing a piece of cheese into the center of each. Roll each bean cake in dry bread crumbs, then refrigerate one hour or more.

Heat 3 tablespoons oil or butter in a large skillet. Saute bean cakes, turning to brown on both sides and heat through.

Note: for firmer cakes that are less fragile, use a traditional breading method: dip cakes in flour, then beaten egg, and finally roll in breadcrumbs.

Serves 6

Fried Calamari with Two Dipping Sauces: Marinara and Aioli

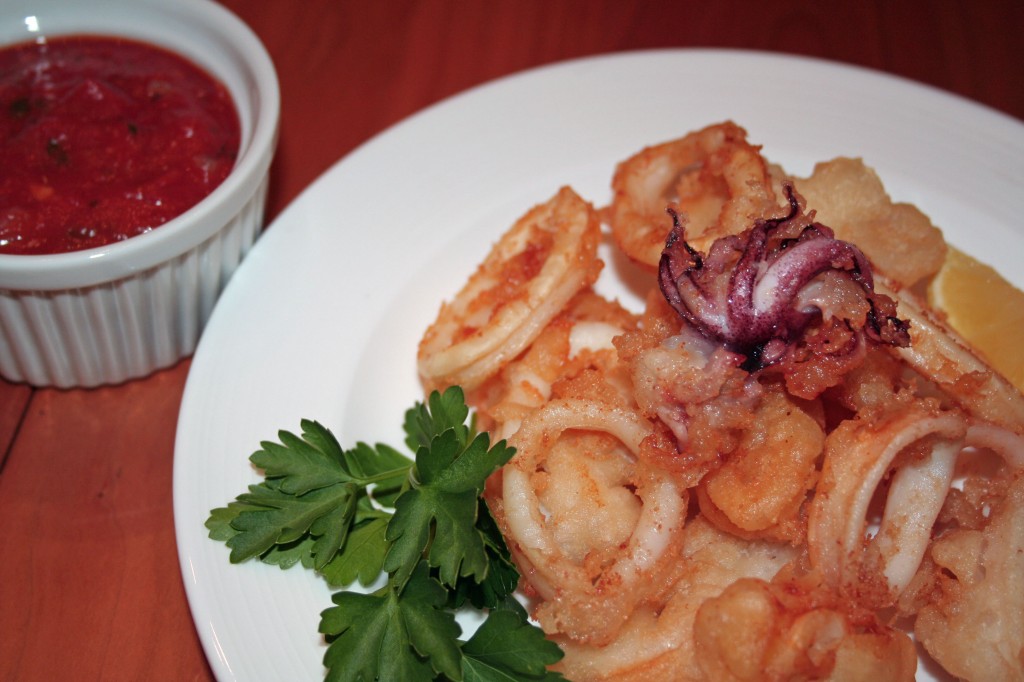
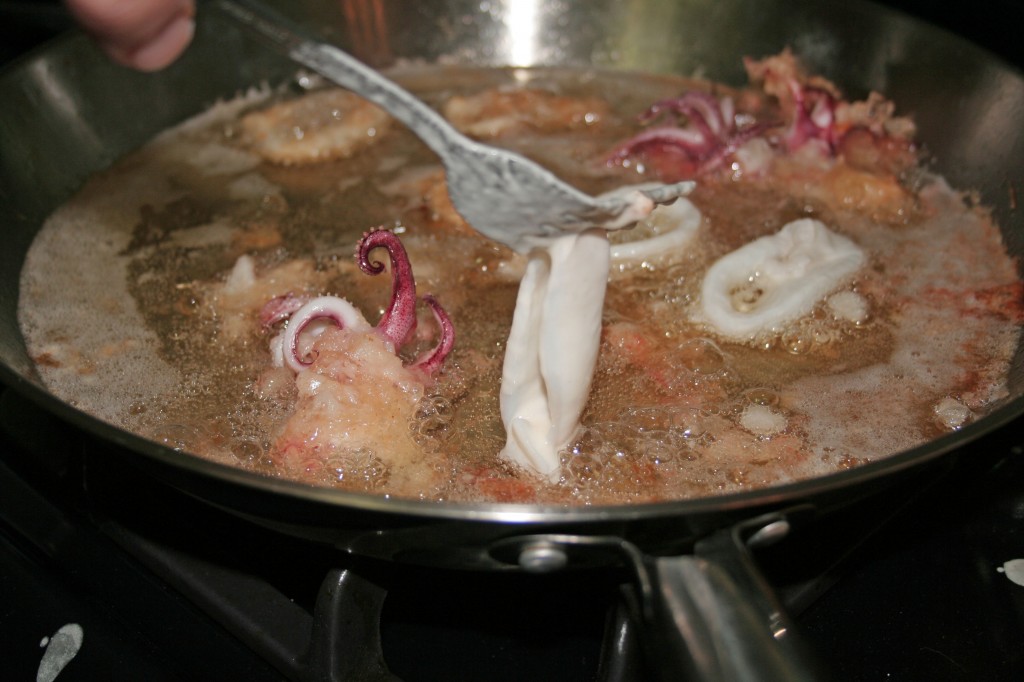
I love all things seafood. Maybe it’s my upbringing in the landlocked Midwest and therefore lack of fresh seafood or that I was fed pureed sushi as a baby, or maybe its just my appreciation for it from a culinary standpoint. Whatever it is, you will see a few more Paula Peck seafood recipes on here soon. I had to modify this one quite a bit from the original in “The Art of Good Cooking.” The flour liquid proportions were pretty far off and had to be corrected. I also prefer to use a beer batter for both texture and flavor. This is not the breaded style fried calamari often served as bar food, but more of a tempura style. Though perfectly delicious on it’s own with a squeeze of lemon as noted in the original recipe, I like to take it a step further with a couple different dipping sauces: a simple marinara and a lemon aioli. The aioli is my favorite. I’ll eat it with just about anything fried, especially french fries. You can buy mayo and add lemon and garlic to make the aioli, but I really think it tastes much better homemade. This lemony garlicky sauce is the perfect complement to any seafood, especially this crunchy yet soft calamari. So enjoy this favorite bar food with an ice cold glass of beer at your next casual get together. Cheers!

Ingredients:

1 pound small squid
vegetable oil for frying
1 1/2 cups sifted flour
1 teaspoon baking powder
1 teaspoon salt
2 cups beer
1 lemon cut in wedges

Clean squid by washing under running water, rubbing off any outer speckled skin and pulling out all entrails. The fish will then be shaped liked tubes. Cut tubes into 1/4 inch slices.

Serves 6.

In a deep pan, heat 2-3 inches of oil to 375 degrees.

Sift flour, baking powder, and salt together. Whisk in beer. With a fork, dip slices of squid into batter and drop in oil. Fry until golden brown. Serve at once with lemon wedges.

Marinara Sauce

Ingredients:
1 tablespoon olive oil
2 cloves garlic, minced
1/2 a small onion, chopped
pinch crushed red pepper
1 cup canned crushed tomatoes
salt, pepper

Heat a small sauce pan over medium heat. Add olive oil. When hot, add garlic and onion. Saute for 1 minute. Add crushed red pepper. Saute for 1 more minute. Add crushed tomatoes and bring to a boil. Remove from heat and season with salt and pepper to taste.

Aioli Sauce

Ingredients:
1 egg yolk
1 tablespoon dijon mustard
1/2 teaspoon salt
1/2 teaspoon red wine vinegar
1/2 cup vegetable oil mixed with 2 tablespoons olive oil
1 clove garlic, minced
1 tablespoon lemon juice

Combine egg yolk, mustard, salt, and vinegar in a bowl or blender. Whisk or blend for 10-20 seconds. Begin adding oil drop by drop while whisking or blending until emulsified. Add the rest of oil in a steady stream. Once the mayonnaise is formed, add garlic and lemon juice.